DIY Beauty Recipes for Beginners: Natural Skincare at Home
There’s something deeply satisfying about mixing up your own face mask in the kitchen. No mysterious ingredient lists, no $60 price tags — just simple, natural ingredients you can actually pronounce. But here’s the thing most DIY beauty blogs won’t tell you upfront: “natural” doesn’t automatically mean “safe.” Lemon juice is natural, and it can give you a nasty sunburn-like reaction on your skin. Baking soda is natural, and it can wreck your skin’s protective barrier.
This guide is different. Before we get to a single recipe, you’ll learn how to do DIY beauty safely — which ingredients are genuinely gentle, which popular ones to avoid, and how to patch test everything. Then you’ll get beginner-friendly recipes for face masks (by skin type), scrubs, hair treatments, and lip care, all made from ingredients you probably already have or can buy cheaply at any grocery store.
Consider this your complete starter manual for natural skincare at home.
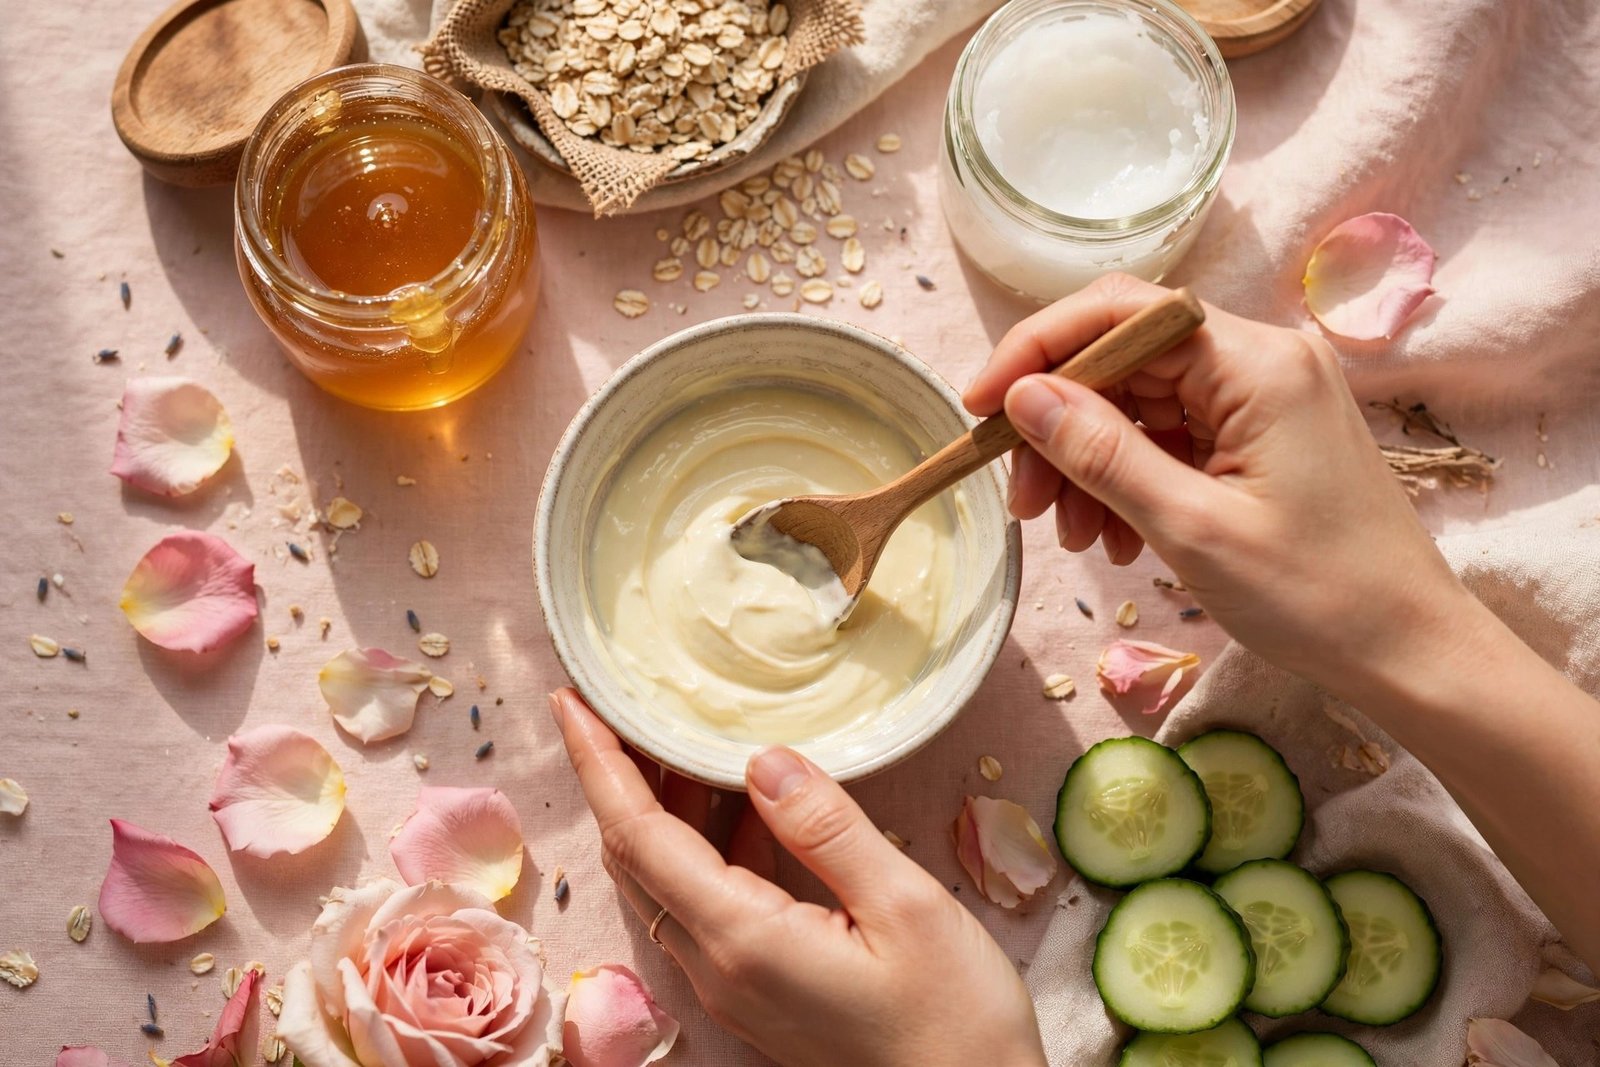
Why Try DIY Beauty?
DIY beauty has exploded in popularity, and it’s not hard to see why. Here are the real, practical benefits:
You control the ingredients. Commercial products can contain dozens of ingredients, including fragrances and preservatives that irritate sensitive skin. When you make it yourself, you know exactly what’s in the jar — because you put it there.
It’s budget-friendly. A jar of raw honey costs a few dollars and makes dozens of face masks. Compare that to a $45 “honey glow” mask at the store. Oatmeal, yogurt, coconut oil, and sugar are all pantry staples that pull double duty as skincare.
It’s customizable. Dry patches on your cheeks but an oily T-zone? You can tweak a recipe for exactly what your skin needs today, rather than hoping a one-size-fits-all product works.
It’s fun and low-waste. There’s genuine joy in the ritual of mixing, applying, and rinsing — and you’re skipping the plastic packaging that comes with most store-bought products.
But — the honest caveats. DIY recipes aren’t preserved, so they spoil fast. They aren’t pH-balanced or dermatologist-tested like commercial formulas. And some beloved “natural” ingredients (we’ll cover these below) can actually harm your skin. DIY is wonderful for simple masks, scrubs, and treatments — but it’s not a replacement for sunscreen, prescription treatments, or products that need precise formulation (like vitamin C serums or retinoids, which require specific pH levels and concentrations to work safely).
Safety First: What to Know Before You Start
This is the most important section in this entire guide. Read it before you mix anything.
How to Patch Test (Every Single Time)
Even natural ingredients can cause reactions. A patch test takes 24 hours and can save you from a full-face breakout or rash. Here’s how to do it properly:
- Apply a small amount of your finished recipe to a discreet area — the inside of your forearm or behind your ear works well.
- Wait 24 hours. Don’t rinse it off early. Go about your day normally.
- Check for reactions. Look for redness, itching, burning, bumps, or swelling.
- If anything feels wrong, don’t use it on your face. Rinse the area with cool water. If irritation persists or worsens, skip that ingredient entirely.
For face masks specifically, you can also do a small test patch along your jawline. And always test the complete recipe, not just individual ingredients — combinations can behave differently.
One more rule: introduce only one new DIY recipe at a time. If you try three new masks in one week and break out, you’ll have no idea which one caused it.
Ingredients to Avoid in DIY Beauty
The internet is full of DIY recipes using ingredients that dermatologists consistently warn against. Here are the main ones to skip:
Lemon juice (and other citrus juices). This is the big one. Citrus contains compounds called psoralens that make your skin extremely sensitive to sunlight — a reaction called phytophotodermatitis. People have ended up with blistering burns and dark patches from putting lemon juice on their face and going outside. Lemon juice is also highly acidic (around pH 2), which disrupts your skin barrier. Skip it entirely.
Baking soda. It’s alkaline (around pH 9), while healthy skin sits around pH 4.5–5.5. Using baking soda as a scrub or cleanser strips your skin’s acid mantle — the protective barrier that keeps moisture in and irritants out. The result is often dryness, irritation, and breakouts.
Undiluted essential oils. Tea tree, lavender, and other essential oils are highly concentrated plant compounds. Applied undiluted, they can cause chemical burns, allergic reactions, and sensitization (meaning you develop an allergy over time). If you want to use essential oils, they must be properly diluted in a carrier oil (typically 1–2% concentration), and even then, patch test carefully. For beginners, it’s simplest to skip them.
Cinnamon and nutmeg. These show up in a lot of “plumping lip scrub” recipes, but they’re known skin irritants that can cause burning, redness, and contact dermatitis — especially on the delicate lip area.
Apple cider vinegar (undiluted). While diluted ACV is sometimes used as a toner, undiluted vinegar is acidic enough to cause chemical burns. If you ever use it, it must be heavily diluted — but for beginners, there are gentler options.
Toothpaste on pimples. An old internet myth. Toothpaste contains ingredients like menthol, fluoride, and sodium lauryl sulfate that irritate skin and can cause peeling and dark spots. It doesn’t treat acne.
Rubbing alcohol or hydrogen peroxide. Far too harsh for facial skin. They destroy healthy skin cells along with bacteria and delay healing.
The takeaway: just because a recipe is popular on social media doesn’t mean it’s safe. When in doubt, stick to the gentle, well-tolerated ingredients in the pantry list below.
Essential Ingredients to Stock in Your DIY Beauty Pantry
You don’t need a specialty store. These affordable, multi-use ingredients cover almost every recipe in this guide. Most are available at any grocery store.
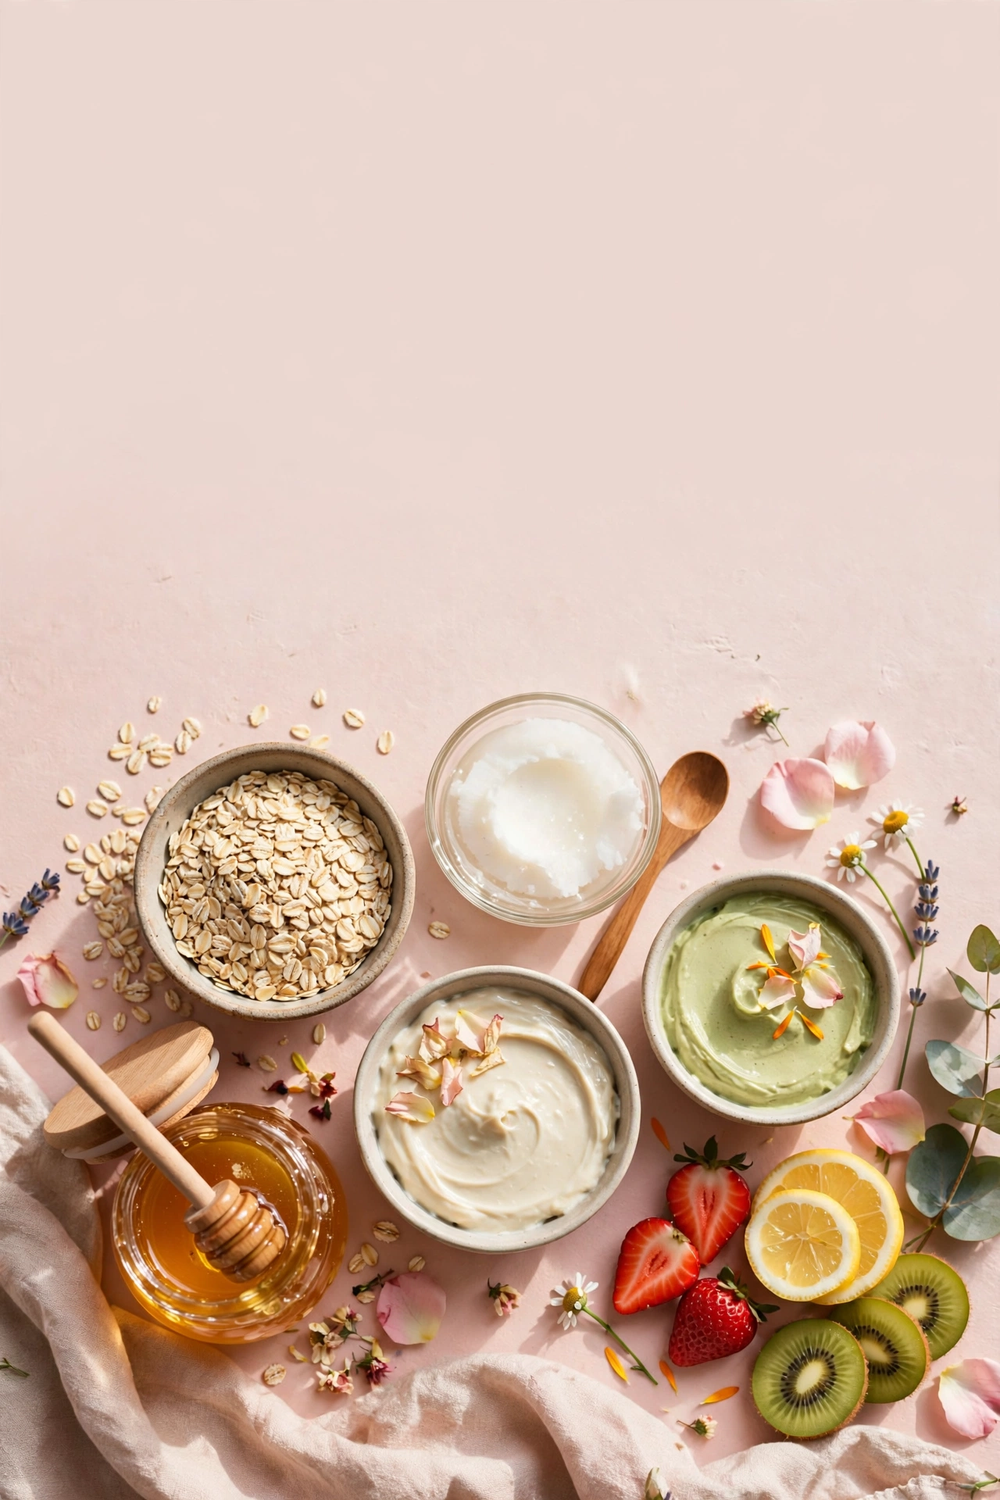
Raw honey. A natural humectant (draws moisture to skin) with antibacterial properties. It’s one of the gentlest and most versatile DIY ingredients — great for all skin types. Use raw or Manuka-style honey if available; avoid heavily processed honey.
Plain oatmeal (colloidal or finely ground). Oatmeal contains compounds called avenanthramides that calm irritation and redness. It’s a classic soothing ingredient for sensitive or irritated skin. Grind rolled oats in a blender for a fine powder.
Plain yogurt (full-fat, unsweetened). Contains lactic acid, a gentle alpha-hydroxy acid (AHA) that provides very mild exfoliation. Use plain yogurt with no added sugars or flavors.
Aloe vera gel. Soothing and hydrating. If you have an aloe plant, fresh gel is wonderful. Otherwise, look for pure aloe vera gel with minimal added ingredients (avoid the bright green “after-sun” gels loaded with alcohol and dye).
Coconut oil. A rich moisturizer for body, hair, and lips. Note: coconut oil is comedogenic (can clog pores) for many people, so it’s better for body and hair than for acne-prone faces. Patch test if using on skin.
Olive oil or sweet almond oil. Gentle carrier oils for dry skin and oil cleansing. Sweet almond oil is lighter; olive oil is richer. Both are widely tolerated.
Brown or white sugar. A physical exfoliant for scrubs. Brown sugar has slightly softer granules (better for face); white sugar works for body scrubs.
Turmeric powder. Contains curcumin, studied for its anti-inflammatory properties. Wonderful in face masks for dull skin — but be warned, it stains everything yellow (skin, towels, sinks). Use small amounts and rinse thoroughly.
Bentonite or kaolin clay. Absorbs excess oil and draws out impurities. Bentonite is stronger (better for oily skin); kaolin is gentler (better for sensitive skin). Never use metal utensils with bentonite clay — it can react with metal.
Rose water. A gentle, fragrant toner base. Look for pure rose water without added alcohol.
Avocado. Rich in fatty acids and vitamins. Mash ripe avocado for deeply moisturizing hair and face masks.
Banana. Softens and moisturizes. Great in hair masks for dry, frizzy hair.
Egg (yolk or white). Egg white is sometimes used in temporary “tightening” masks; yolk is moisturizing for hair. Use fresh eggs and rinse with cool (not hot) water.
Green tea. Brewed and cooled, it’s a soothing, antioxidant-rich liquid base for masks and toners.
That’s it — with these 15 ingredients, you can make every recipe below.
DIY Face Mask Recipes by Skin Type
One mask doesn’t fit all. Here are simple, beginner-safe recipes organized by what your skin needs. Each makes enough for one application — always mix fresh.
General mask rules: Apply to clean skin with clean hands. Leave on for 10–15 minutes (never let clay masks dry completely — more on that below). Rinse with lukewarm water, pat dry, and follow with moisturizer.
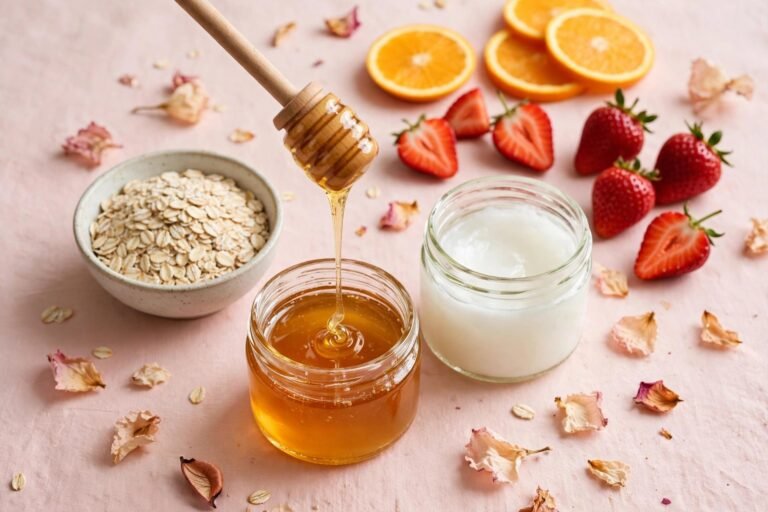
For Dry Skin: Honey Oatmeal Comfort Mask
Dry skin craves humectants (ingredients that draw in moisture) and gentle nourishment.
- 2 tablespoons finely ground oatmeal
- 1 tablespoon raw honey
- 1 teaspoon sweet almond oil or olive oil
Mix into a smooth paste. Apply evenly, avoiding the eye area. Leave on for 15 minutes, then rinse with lukewarm water. The oatmeal calms tightness while honey and oil lock in moisture. Use once or twice a week.
For Oily or Acne-Prone Skin: Clay and Aloe Balancing Mask
Clay absorbs excess oil without the harshness of alcohol-based products.
- 1 tablespoon kaolin clay (gentler) or bentonite clay (stronger oil absorption)
- 1 tablespoon aloe vera gel
- 1–2 teaspoons water or rose water (to reach a smooth consistency)
Mix with a wooden or plastic spoon — never metal with bentonite clay. Apply a thin layer. Important: remove the mask while it’s still slightly damp (around 10 minutes), not after it’s cracked dry. Letting clay dry completely can dehydrate your skin and cause irritation. Rinse thoroughly and moisturize. Use once a week.
For Sensitive Skin: Yogurt Oatmeal Soothing Mask
When your skin is reactive, less is more. This two-ingredient mask is about as gentle as DIY gets.
- 2 tablespoons plain full-fat yogurt
- 1 tablespoon finely ground oatmeal
Stir together and apply. The yogurt provides very mild lactic-acid exfoliation while oatmeal calms redness. Leave on for 10 minutes, rinse with cool water. If your skin is actively irritated or broken, skip masks entirely until it calms down.
For Dull Skin: Turmeric Honey Glow Mask
Turmeric is popular for brightening dull skin — with one big caveat: it stains.
- 1 teaspoon turmeric powder (a little goes a long way)
- 2 tablespoons raw honey
- 1 teaspoon plain yogurt
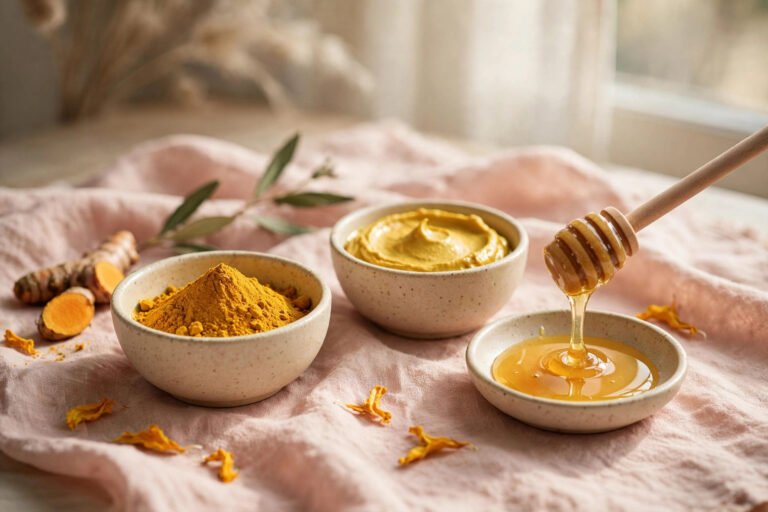
Mix well. Apply thinly and leave on for 10 minutes — no longer, or the staining gets worse. Rinse thoroughly with lukewarm water and a gentle cleanser; a faint yellow tint may linger for a few hours, so don’t do this right before an event. Wear an old shirt and use a dark towel. turmeric face mask
DIY Scrub Recipes
Scrubs provide physical exfoliation — they manually buff away dead skin cells. The golden rule: be gentle. Scrubbing hard doesn’t exfoliate better; it just irritates.
Face Scrubs: Keep It Soft
Facial skin is thin and delicate. Use the finest granules you can and a light touch — think gentle circles for 30 seconds, not a deep-tissue massage.
Brown Sugar Honey Face Scrub
– 1 tablespoon brown sugar (finer than white sugar)
– 1 tablespoon raw honey
Mix and massage onto damp skin in gentle circular motions for 30 seconds. Rinse with lukewarm water. The honey cushions the sugar granules, making this much gentler than a dry scrub. Use once a week at most — over-exfoliating is one of the most common DIY mistakes.
Body Scrubs: A Little More Oomph
Body skin is thicker and can handle coarser exfoliation.
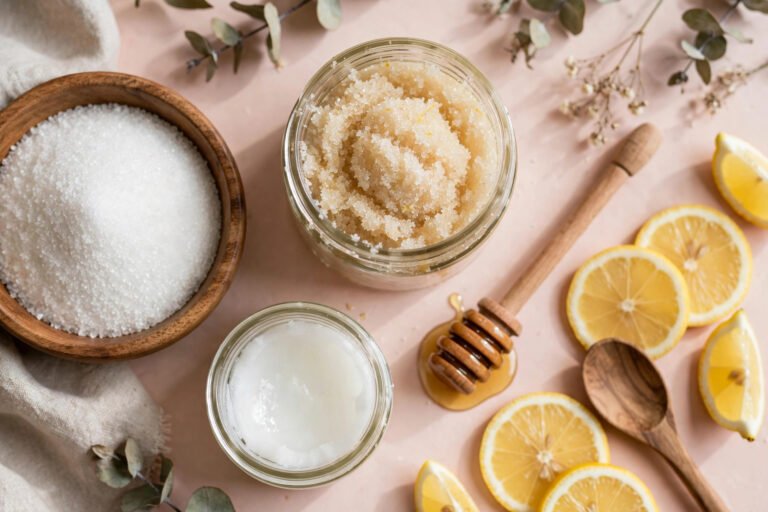
Coconut Sugar Body Scrub
– ½ cup white or brown sugar
– ¼ cup melted coconut oil
– Optional: 1 teaspoon vanilla extract for scent
Mix in a jar. In the shower, massage onto damp skin in circular motions, then rinse. Your skin will feel soft from the residual oil — you may not even need lotion after. This makes a lovely gift, too.
Coffee Body Scrub
– ½ cup used or fresh coffee grounds
– ¼ cup coconut oil or olive oil
– 2 tablespoons brown sugar
The caffeine in coffee is often credited with temporarily firming the look of skin (the effect is mild and temporary, but the scrub itself is excellent). Warning: coffee grounds can clog drains — use a drain catcher, or do this scrub before you turn the shower on and rinse the tub after.
How often? Body scrubs 1–2 times per week. Never scrub sunburned, broken, or irritated skin.
DIY Hair Treatments
Kitchen ingredients can do real work for your hair — especially for dryness and frizz.
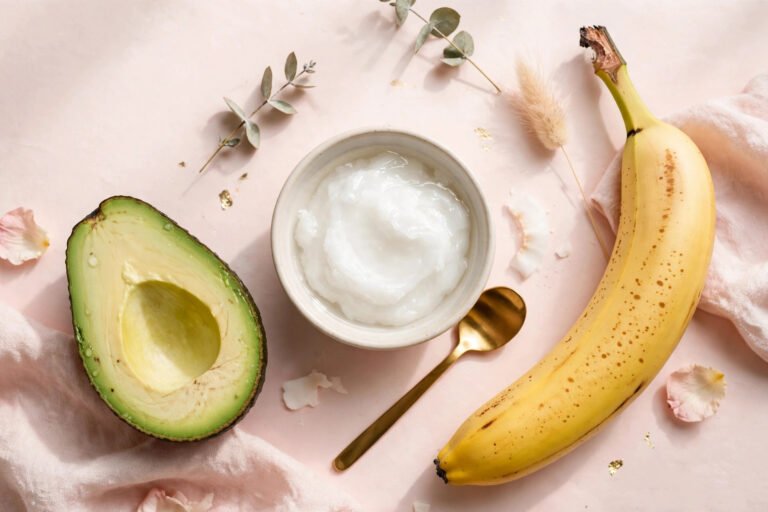
Deep-Conditioning Avocado Banana Mask
For dry, thirsty hair that needs serious moisture.
- 1 ripe avocado, mashed smooth
- 1 ripe banana, mashed smooth (blend it — lumps are hard to rinse out)
- 1 tablespoon olive oil or coconut oil
Blend until completely smooth (a blender works best — banana lumps get stuck in hair). Apply to damp hair from mid-length to ends, avoiding the roots if your scalp gets oily. Cover with a shower cap and leave on for 20–30 minutes. Rinse thoroughly with lukewarm water, then shampoo as normal. Use every 1–2 weeks.
Coconut Oil Pre-Shampoo Treatment
The simplest hair treatment there is — and one of the most effective for preventing dryness.
- 2–3 tablespoons coconut oil (melted if solid)
Warm the oil between your palms. Apply to dry hair, focusing on the ends. Leave on for at least 30 minutes (or overnight with a towel over your pillow). Shampoo twice to remove all the oil, then condition as normal. This is especially helpful for thick, curly, or chemically treated hair that tends toward dryness.
Apple Cider Vinegar Rinse (Diluted!)
For buildup and dullness — but dilution is non-negotiable.
- 1–2 tablespoons apple cider vinegar
- 1 cup cool water
After shampooing and conditioning, pour the mixture over your hair, leave for 1–2 minutes, then rinse with cool water. The mild acidity helps smooth the hair cuticle, which can make hair look shinier. Use once a week at most. Never apply undiluted vinegar to your scalp — it can cause chemical burns.
Aloe Vera Scalp Soother
For itchy or flaky scalps.
- 3 tablespoons pure aloe vera gel
- 1 teaspoon sweet almond oil (optional, for dry scalps)
Part your hair in sections and massage the gel directly onto your scalp. Leave on for 15–20 minutes, then shampoo as normal. Aloe’s soothing properties can calm mild scalp irritation. If you have persistent flaking, redness, or sores, see a dermatologist — that could be a condition like seborrheic dermatitis that needs proper treatment.
DIY Lip Care Recipes
Lips have no oil glands, which is why they chap so easily. These simple recipes keep them soft.
Honey Sugar Lip Scrub
- 1 teaspoon brown sugar
- 1 teaspoon honey
- A few drops of olive oil
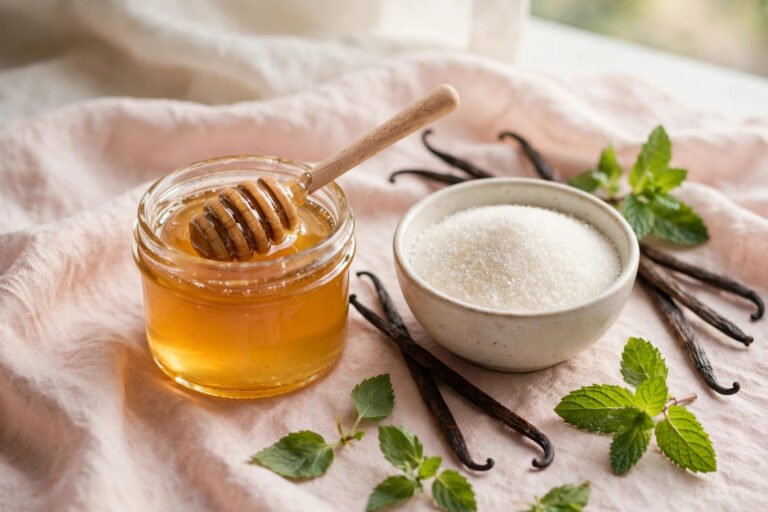
Mix and gently rub over lips in small circles for 15–20 seconds. Rinse or wipe off. Follow immediately with lip balm — exfoliated lips lose moisture fast. Use once or twice a week. honey sugar lip scrub
What NOT to put on lips: cinnamon, peppermint oil, or other “plumping” irritants. The tingle people chase is actually irritation and inflammation. Stick to gentle exfoliation.
Overnight Honey Lip Mask
- A thin layer of raw honey on clean lips before bed
That’s the whole recipe. Honey is a humectant that draws moisture in overnight. In the morning, rinse and apply your regular lip balm. Simple, effective, and far cheaper than overnight lip masks sold in stores.
DIY Lip Balm Base
If you want to graduate from single-ingredient treatments:
- 1 tablespoon beeswax pellets (or candelilla wax for a vegan option)
- 2 tablespoons coconut oil
- 1 tablespoon shea butter (or cocoa butter)
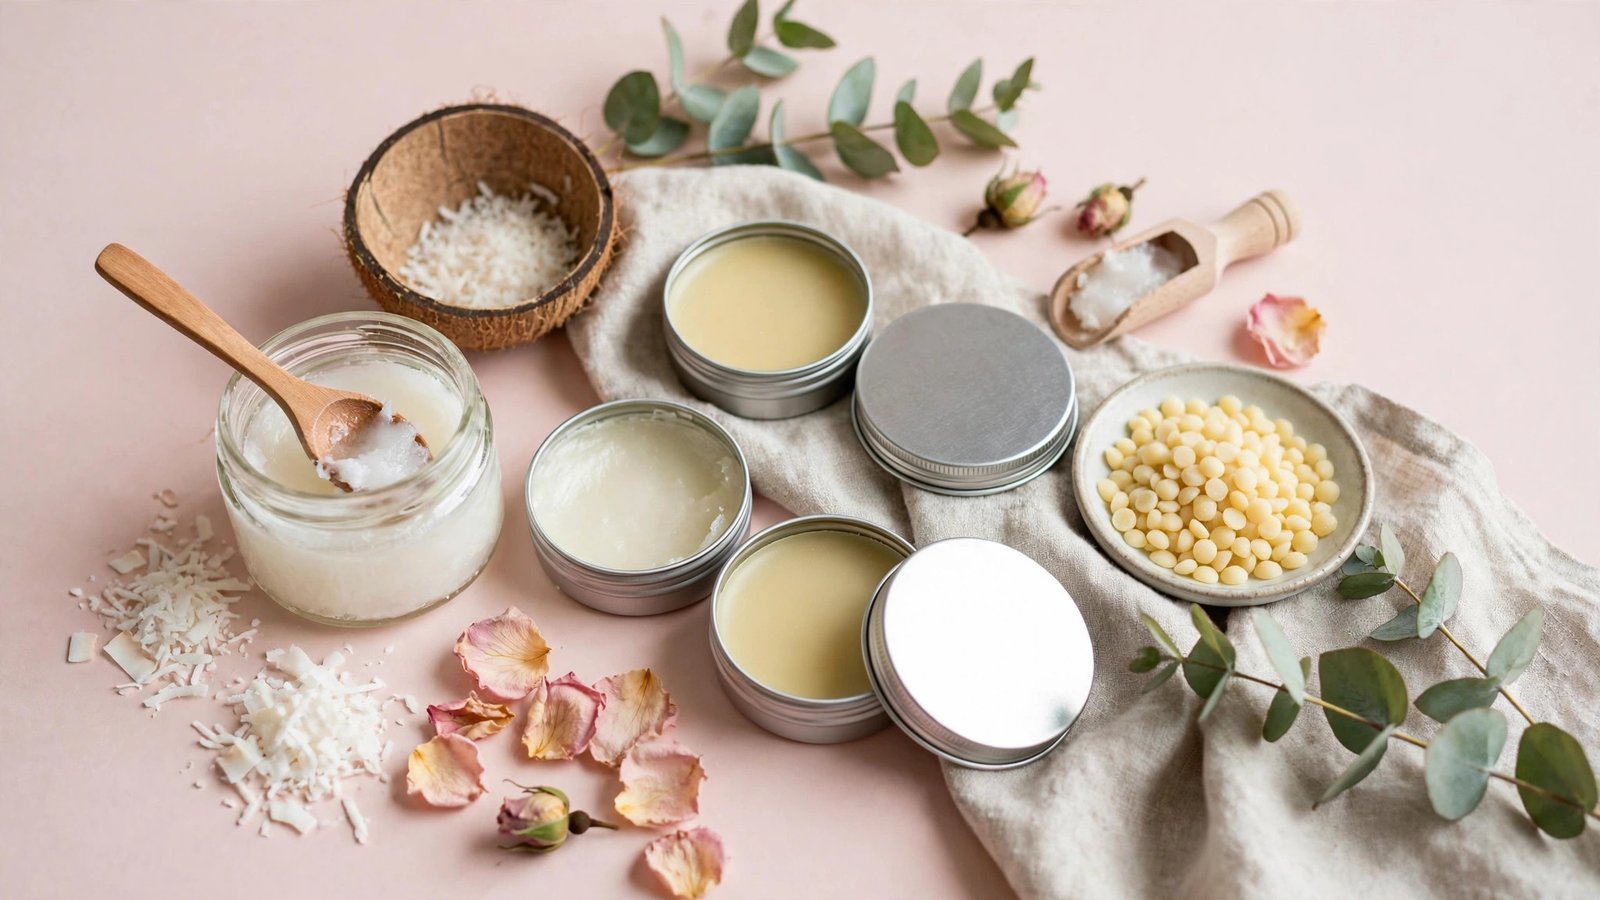
Melt everything together in a heat-safe bowl over simmering water (double-boiler style). Pour into small tins or empty lip balm tubes. Let cool completely before capping. This makes several balms — they keep for months since there are no water-based ingredients (water is what makes products spoil).
Storage and Shelf Life: The Unsexy Part That Actually Matters
This is where most beginners go wrong. Homemade products don’t contain preservatives, so they spoil — sometimes fast. Using a spoiled DIY product can cause breakouts, rashes, or eye infections. Here’s how to stay safe:
The golden rule: when in doubt, throw it out. If it smells off, changed color, or grew anything fuzzy, discard it immediately. Your skin isn’t worth the risk.
Water is the enemy of shelf life. Bacteria and mold thrive in water. That’s why:
– Oil-only recipes (lip balms, body oils, oil scrubs) last longest — typically 3–6 months stored cool and dry, since there’s no water for microbes to grow in.
– Fresh masks with perishable ingredients (yogurt, avocado, banana, egg) should be mixed fresh and used immediately. Don’t store leftovers.
– Honey-based recipes keep reasonably well (honey is naturally resistant to spoilage) — about 1–2 weeks refrigerated.
– Anything with fresh aloe gel should be used within a few days, refrigerated.
Storage best practices:
– Use clean, dry containers — glass jars with lids are ideal. Wash and fully dry them before each use.
– Never dip fingers into jars. Use a clean spoon or spatula every time to avoid introducing bacteria.
– Refrigerate anything containing fresh, water-based, or perishable ingredients.
– Label everything with the date you made it.
– Keep products away from heat, humidity, and direct sunlight (so not on the bathroom windowsill).
A note on “natural preservatives”: vitamin E oil, grapefruit seed extract, and essential oils are sometimes marketed as natural preservatives, but they don’t reliably prevent bacterial or fungal growth in homemade cosmetics. Don’t rely on them to extend shelf life.
Common DIY Beauty Mistakes to Avoid
Learn from everyone else’s errors so your skin doesn’t have to:
1. Over-exfoliating. The #1 DIY mistake. Between scrubs, clay masks, and yogurt’s mild acids, it’s easy to exfoliate way too often. Signs you’ve overdone it: stinging when you apply products, persistent redness, shiny-but-tight skin, or new breakouts. Stick to 1–2 exfoliating treatments per week total, not per product.
2. Using too much of an active ingredient. More turmeric doesn’t mean more glow — it means more staining. More clay doesn’t mean deeper cleansing — it means dehydration. Follow the measurements in recipes; they’re there for a reason.
3. Skipping the patch test. Yes, this keeps coming up — because people keep skipping it. Thirty seconds of application isn’t worth a week of recovery.
4. Mixing incompatible ingredients. Don’t combine strong exfoliants in one routine (e.g., a scrub followed by a clay mask followed by a yogurt mask). Space active treatments across the week.
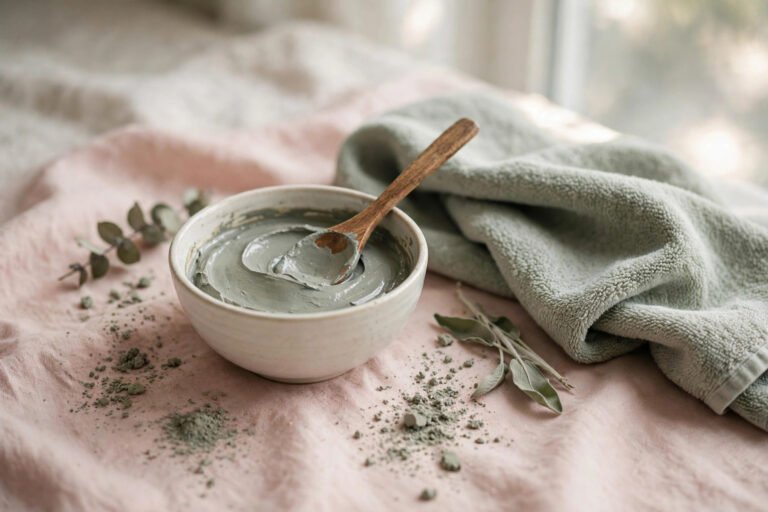
5. Expecting miracles. DIY masks can hydrate, soothe, and gently exfoliate. They can’t erase deep wrinkles, cure acne, or change your skin type. If a recipe promises dramatic transformations, be skeptical. For persistent skin concerns — acne, rosacea, eczema, hair loss — a dermatologist is the right call, not the kitchen. aztec clay mask
6. Ignoring expiration. That coconut oil from 2021? Rancid oils can irritate skin. Check dates on your pantry ingredients before using them on your face.
7. Copying viral recipes without checking safety. If a trending recipe includes lemon juice, baking soda, or undiluted essential oils, scroll past. Popularity is not safety data.
Frequently Asked Questions
Are DIY beauty products as effective as store-bought ones?
For simple jobs — moisturizing, gentle exfoliation, soothing irritation — yes, basic DIY recipes can work well. Where commercial products win is in formulation: stable vitamin C, properly pH-balanced acids, effective preservatives, and targeted treatments backed by clinical testing. Think of DIY as a complement to your routine, not a wholesale replacement. And some things (sunscreen especially) should never be DIY’d — homemade sunscreen doesn’t provide reliable UV protection, and that’s a safety issue, not just an effectiveness one.
How often should I do DIY face masks?
For most skin types, 1–2 times per week is plenty. Clay masks: once a week. Hydrating masks (honey, oatmeal): up to twice a week. Doing masks daily — even gentle ones — can disrupt your skin barrier over time.
Can I use DIY recipes if I have sensitive skin?
Yes, but be extra cautious. Stick to the simplest recipes (oatmeal + honey, plain yogurt), always patch test, and introduce one recipe at a time. Avoid fragranced ingredients, essential oils, and anything acidic. If your skin is highly reactive or you have a diagnosed condition like eczema or rosacea, check with a dermatologist before trying DIY treatments.
Do I need to refrigerate homemade beauty products?
Anything containing fresh ingredients (yogurt, avocado, aloe gel, egg) — yes, and use within days. Oil-based products (balms, oil scrubs) are fine at cool room temperature for months. When in doubt, refrigerate.
Why did my DIY mask cause breakouts?
Several possibilities: the ingredient didn’t agree with your skin (hence patch testing), the product was contaminated (dirty jar or fingers), you used it too often, or an ingredient was comedogenic for you (coconut oil is a common culprit on acne-prone faces). Stop using the recipe, let your skin recover, and don’t reintroduce it without a patch test.
Can kids or teens use DIY beauty recipes?
Teen skin is often going through hormonal changes and can be unpredictable. Simple, gentle recipes (honey masks, oatmeal) are generally fine, but teens should be especially careful with exfoliating recipes and should always patch test. For children, keep it to the very gentlest options and supervise.
Key Takeaways
- Safety comes first: always patch test new recipes, and avoid lemon juice, baking soda, undiluted essential oils, and other known irritants — “natural” doesn’t automatically mean safe.
- Start with a small pantry: honey, oatmeal, yogurt, aloe vera, coconut oil, sugar, and clay cover nearly every beginner recipe in this guide.
- Match recipes to your skin type: hydrating masks for dry skin, clay for oily skin, and the simplest two-ingredient options for sensitive skin.
- Fresh is best, and fresh spoils fast: mix masks when you need them, refrigerate perishables, never dip fingers into jars, and throw out anything that smells or looks off.
- Less is more: 1–2 treatments per week is plenty. Over-exfoliating is the most common beginner mistake.
- DIY complements — it doesn’t replace — your routine: keep using sunscreen (never DIY it) and see a dermatologist for persistent skin concerns.
- Have fun with it: there’s real joy in making your own products. Start simple, stay safe, and enjoy the ritual.
Love this? Pin it for later!