Nail Care Routine at Home for Beginners: Healthy Nails Step by Step
You don’t need expensive salon visits to have healthy, beautiful nails. With the right tools and a simple routine, you can keep your nails strong and polished-looking right at home — often in less time than it takes to drive to a salon and back. The secret isn’t talent or fancy products; it’s consistency and technique. This guide walks you through everything a beginner needs to know: how nails actually work, which tools are worth buying, a full step-by-step at-home manicure, and the weekly habits that keep nails looking their best between polish changes.
Whether your nails are currently brittle and peeling or you’re simply starting a self-care habit from scratch, this pillar guide is your complete reference. Bookmark it, because we’ll also point you toward our deeper guides on specific nail problems along the way.
Understanding Nail Anatomy: How Nails Actually Work
Before picking up a single tool, it helps to understand what your nails are made of and how they grow. Nails are not alive in the way skin is — the visible nail plate is made of keratin, the same hardened protein found in hair. The part you see and paint is technically dead tissue, which is why trimming or filing it doesn’t hurt. But the structures underneath and around it are very much alive, and that’s where most nail problems begin.
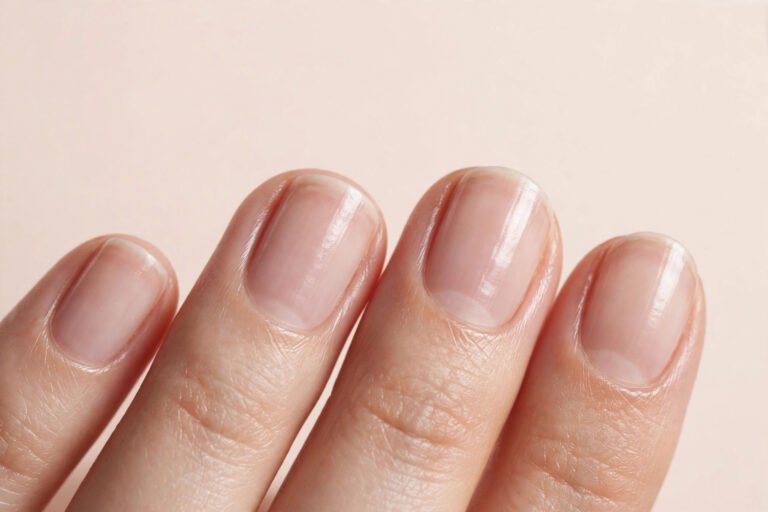
The nail plate is the hard surface you see. Beneath it sits the nail bed, a layer of skin rich in blood vessels (that’s what gives healthy nails their pink color). At the base of the nail, hidden under the cuticle, is the matrix — the growth center where new nail cells are produced. Damage to the matrix from trauma or aggressive tools can cause permanent ridges or dents, which is why gentle technique matters so much.
The cuticle is a thin layer of dead skin that seals the gap between the nail plate and the skin of your finger. It acts as a protective barrier against bacteria and moisture. Many beginners assume cuticles should be cut away entirely, but dermatologists generally advise against cutting them — the cuticle’s job is to keep germs out, and removing it opens the door to infections like paronychia (a painful inflammation around the nail).
Nails grow slowly — about 3 millimeters per month for fingernails, and even slower for toenails. That means a full nail replacement takes roughly four to six months. Because growth is slow, damage takes a long time to grow out, which is another reason to treat your nails gently. Healthy nails are smooth, uniform in color, and free of spots, ridges, or discoloration. If you notice persistent changes — dark streaks, lifting, or thickening — that’s worth discussing with a dermatologist rather than covering up with polish.
Essential Tools for Your At-Home Nail Kit
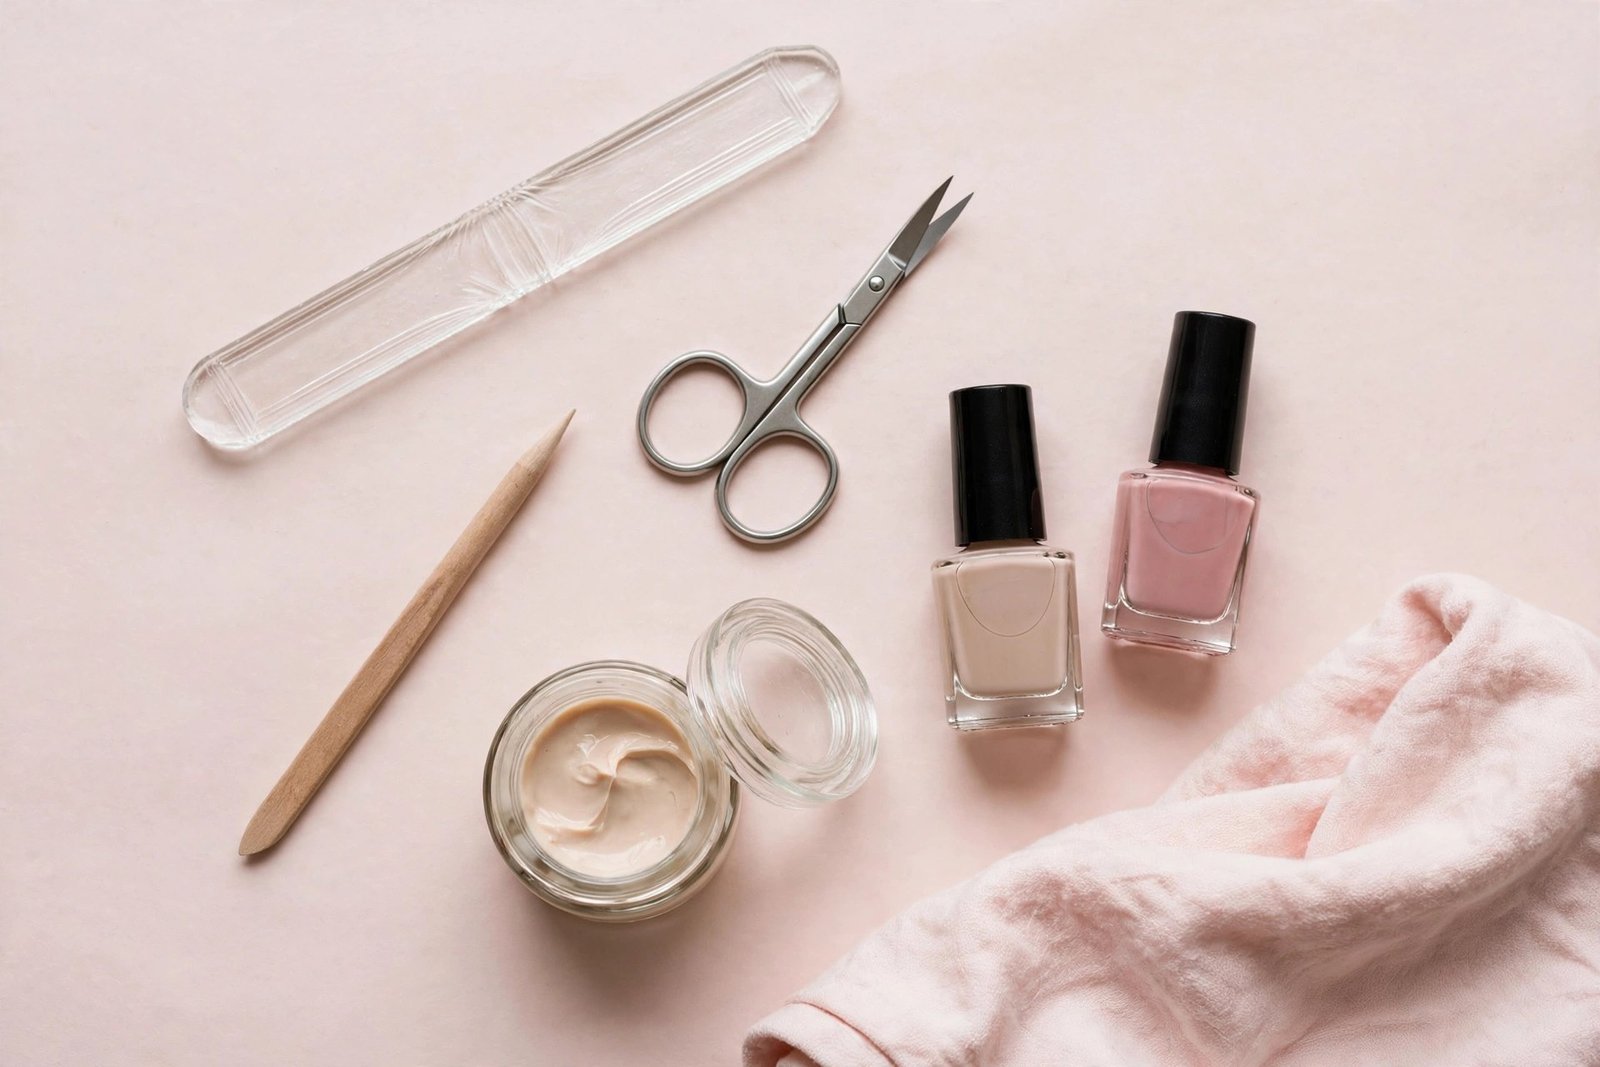
You don’t need a professional salon setup. A small, quality kit covers everything a beginner needs, and most of these tools last for years. Here’s what to buy and what each tool actually does:
Nail clippers. Choose a sharp, clean pair sized for fingernails (smaller, slightly curved) and, if you do pedicures, a larger straight-edged pair for toenails. Dull clippers crush rather than cut, causing splits.
Glass or crystal nail file. This is the single best upgrade a beginner can make. Glass files are gentler than emery boards, seal the nail edge as they file, and can be washed and reused indefinitely. Avoid metal files — they’re too harsh for natural nails.
Cuticle pusher. A wooden orangewood stick or a rubber-tipped pusher is ideal for beginners. Metal pushers work but require a lighter touch; start with wood or rubber until you’re confident.
Cuticle remover (optional). A gentle cuticle softener or remover gel (usually containing mild alpha-hydroxy acids) helps loosen dead cuticle tissue so it can be pushed back easily. This is not the same as cuticle nippers — it’s a chemical softener, and it’s far safer for beginners.
Nail buffer block. A four-sided buffer smooths ridges and adds shine. Use the finest-grit side only, and buff lightly — over-buffing thins the nail plate.
Hand and nail moisturizer. A rich hand cream plus a dedicated cuticle oil (jojoba-based oils absorb well) are non-negotiable. Dry nails are brittle nails.
Base coat, polish, and top coat (optional). If you wear polish, a base coat protects the nail from staining and a top coat extends wear. Even if you prefer bare nails, a clear strengthening base coat adds a layer of protection.
Cotton pads and gentle polish remover. Choose an acetone-free remover for regular use; it’s less drying. Keep pure acetone only for removing gel or acrylics.
Small bowl and warm water. For the soaking step of your manicure. Add a drop of gentle soap or a teaspoon of olive oil if your skin is very dry.
Store metal tools clean and dry. Wash glass files with soap and water after each use. Replace emery boards when the grit wears smooth, and never share tools that have touched broken skin.
Step-by-Step Manicure at Home: The Full Routine
Here’s the complete at-home manicure, start to finish. The first time through, give yourself about 30 to 40 minutes. With practice, you’ll do it in 20.
Step 1: Remove old polish
If you’re wearing polish, start with a clean slate. Soak a cotton pad in acetone-free remover, press it onto the nail for about 10 seconds to dissolve the polish, then wipe toward the tip in one direction. Avoid scrubbing back and forth, which can dry out the nail surface. For glitter or stubborn polish, hold the soaked pad on the nail a little longer before wiping.
Step 2: Trim to your desired length
Clip nails straight across, leaving a small margin of white tip — don’t cut into the quick (the pink part). It’s better to clip conservatively and file to your final shape than to cut too short. Short nails are perfectly fine for beginners; they’re easier to maintain and less prone to breaking while you’re learning.
Step 3: Soak your fingertips
Fill a small bowl with warm (not hot) water and soak your fingertips for 3 to 5 minutes. This softens the cuticles and makes them easier to push back. Don’t soak longer than 5 minutes — over-soaking swells the nail plate, and nails filed or polished while swollen can shrink as they dry, leading to chipping and peeling. If your skin is very dry, add a drop of gentle hand soap or a little olive oil to the water.
Step 4: Push back cuticles
After soaking, gently push back the softened cuticles with your orangewood stick or rubber pusher. Work at a low angle and use light pressure — you’re nudging dead skin off the nail plate, not digging into living tissue. If any cuticle resists, apply a drop of cuticle remover, wait a minute, and try again. Never force it. Wipe away loosened dead skin with a damp cloth.
Step 5: File and shape
File in one direction only, from the outer edge toward the center, using smooth strokes. Sawing back and forth creates micro-tears that lead to peeling and splitting. We’ll cover shaping in detail in the filing section below, but for now: choose your shape, file gently, and check your progress often. best nail shape for short, chubby fingers
Step 6: Buff lightly
Using the finest side of your buffer block, make 3 to 4 light passes over each nail to smooth ridges and create an even surface. Press very lightly — you should barely feel it. The goal is smoothness, not thinness. Skip this step if your nails are already thin or damaged.
Step 7: Moisturize
Massage cuticle oil into each nail and the surrounding skin, then follow with hand cream over your hands and nails. This step is easy to skip and impossible to overstate: hydrated nails are flexible nails, and flexible nails don’t break.
Step 8: Apply polish (optional)
If you’re polishing, wipe each nail with a little remover or alcohol on a cotton pad first to remove oils (this helps polish adhere). Apply a thin base coat, two thin coats of color (thin coats dry faster and chip less than one thick coat), and a top coat. Let each layer dry for at least two minutes. Pro tip: wrap the tip — run the brush lightly along the very edge of the nail — to seal it against chipping.
Step 9: Clean up and finish
Use a small brush or cotton swab dipped in remover to clean any polish from the skin around your nails. Finish with another drop of cuticle oil once the polish is fully dry.
Cuticle Care: The Most Misunderstood Part of Nail Health
Cuticles get a bad reputation, mostly because they look untidy when overgrown. But as we covered in the anatomy section, the cuticle is a protective seal. The goal of cuticle care is maintenance, not removal.
Push, don’t cut. After soaking or showering (when cuticles are soft), gently push them back with an orangewood stick. This keeps the nail plate clear and tidy without breaking the protective seal. Most dermatologists advise against cutting cuticles with nippers — nicks and cuts around the nail are a common entry point for bacterial and fungal infections.
When nippers are okay. The one exception: hangnails. A hangnail is a torn piece of skin (not actually part of the nail) that can catch and tear further. Trim hangnails cleanly with sterilized nippers or small scissors, cutting close to — but not into — healthy skin. Never pull or bite a hangnail; that tears living tissue and invites infection.
Moisturize daily. Cuticle oil isn’t just for manicure day. A drop massaged into each cuticle once or twice daily keeps the skin supple and prevents the dryness that leads to hangnails and ragged edges. Jojoba oil is a favorite because its composition is close to the skin’s natural oils, but almond, vitamin E, or even olive oil work well.
What about cuticle remover products? These are fine for beginners and much safer than nippers. Apply, wait the recommended time (usually 30 to 60 seconds), then push back gently. Rinse thoroughly afterward, since the active ingredients can irritate skin if left on.
If you develop redness, swelling, or throbbing pain around a nail, stop all cuticle work and keep the area clean — those are signs of infection (paronychia), and persistent cases need a doctor, not more pushing.
Filing and Shaping Guide: Getting the Shape Right
Filing is where most beginners go wrong, and it’s also where small technique changes make the biggest difference. The two rules that matter most: file in one direction, and never file when nails are wet or over-soaked.
Direction matters. Drag the file from the side of the nail toward the center in smooth, single-direction strokes. The back-and-forth sawing motion feels efficient, but it frays the nail’s layered structure (yes, nails have layers — about 100 of them), which is a direct cause of peeling and splitting. why nails peel in layers
Choose the right grit. For natural nails, use a fine-grit file (180 grit or higher; glass files are ideal). Coarse files (100 grit and below) are meant for acrylics and will shred natural nails.
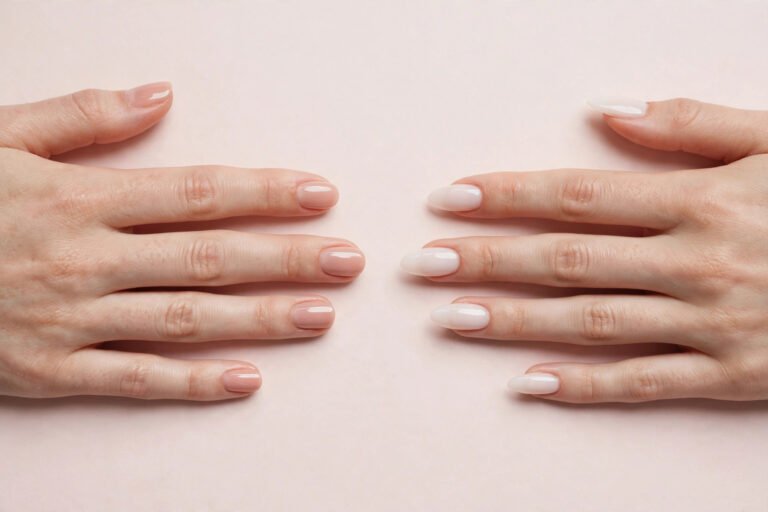
The five basic shapes:
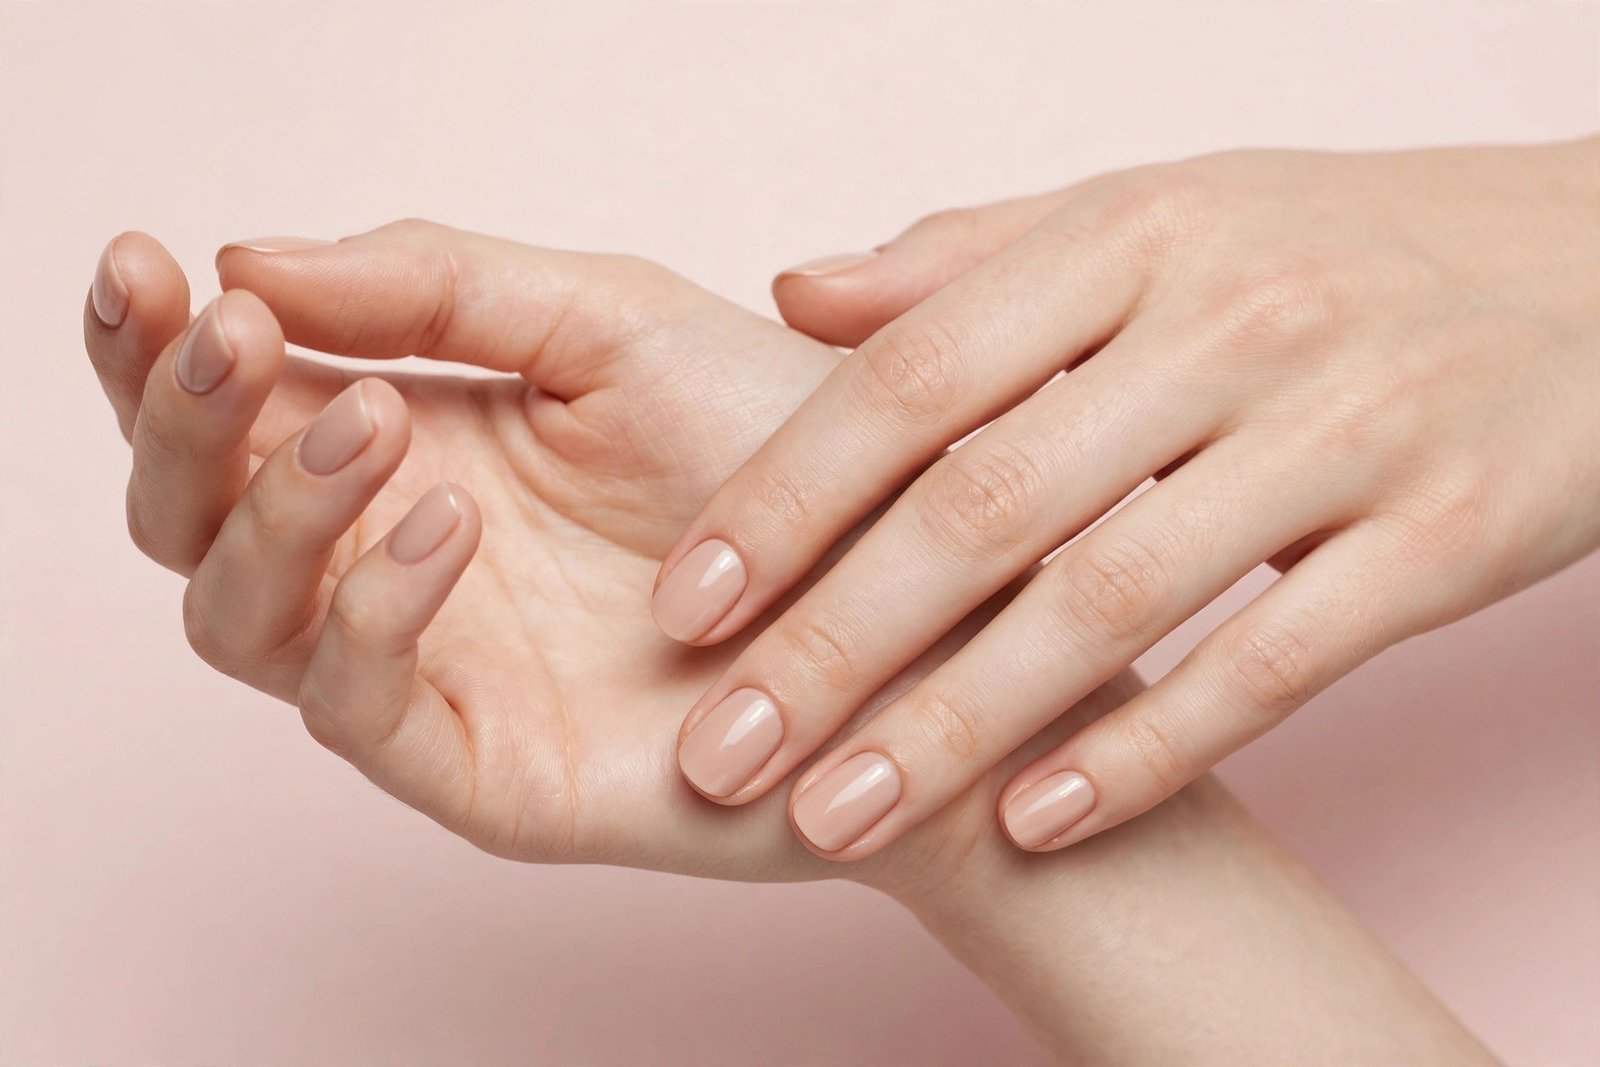
- Round: Follows the natural curve of the fingertip. Easiest to maintain, least prone to breakage. Best for short nails and beginners.
- Oval: Like round but slightly longer and more tapered. Elongates the fingers visually.
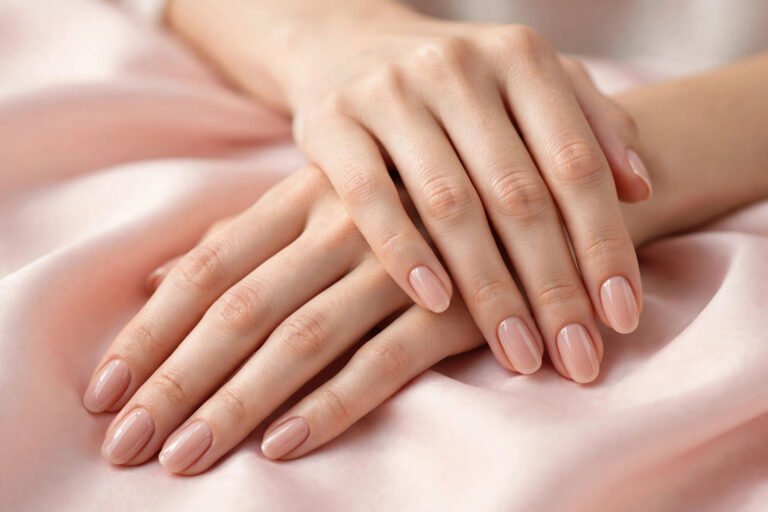
- Squoval: Square with softened corners — the best of both worlds. Strong like a square, forgiving like an oval. A great beginner shape.
- Square: Straight across with sharp corners. Looks crisp but corners catch and break easily; needs more maintenance.
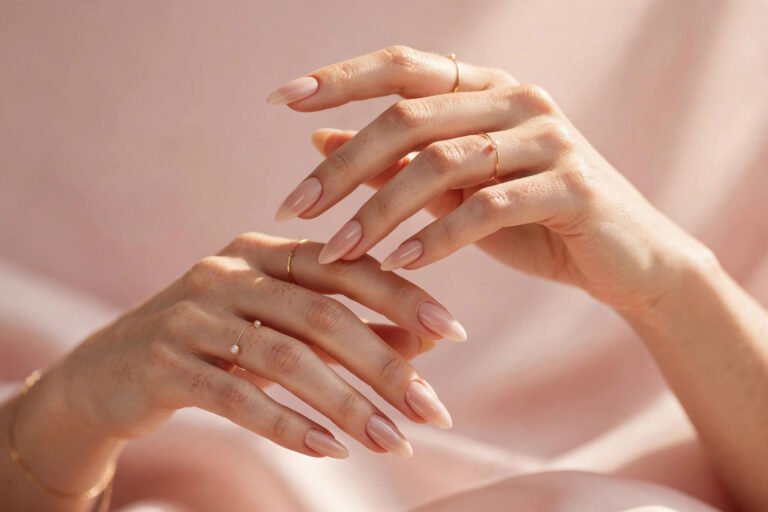
- Almond/Stiletto: Tapered to a soft or sharp point. Beautiful but fragile — save these for when your nails are consistently healthy, and know they require length to look right.
For beginners, squoval or round are the smartest choices. They’re strong, easy to file, and flattering on almost every hand. If you’re unsure which shape suits your hands, our guide to choosing a flattering shape walks through it by finger type. best nail shape for short, chubby fingers
How to file a squoval: Clip straight across first. Then file the corners at a slight angle, rounding them just enough to remove the sharp edge. Check symmetry by looking at the nail straight-on and from the side. File a little, check, repeat — you can always take more off, but you can’t put it back.
How often to file: Touch up shaping once a week, or whenever you notice snags. Don’t file daily — even gentle filing removes nail material, and nails need time to recover.
Moisturizing: The Step Everyone Skips (Don’t)
If there’s one habit that separates healthy nails from problem nails, it’s moisture. Nails are porous — they absorb and lose water constantly. Dry nails become brittle, peel, and break. Hydrated nails flex instead of snapping.
Cuticle oil daily. This is the highest-impact habit in this entire guide. One drop per nail, massaged in, morning and night if you can manage it — once daily at minimum. Keep a bottle by your bed, at your desk, or in your bag so you actually do it.
Hand cream after every wash. Washing dishes, cleaning, even frequent handwashing strips moisture from nails and cuticles. Reapply hand cream after washing hands, and wear gloves for dishes and cleaning — water and detergents are among the worst offenders for nail dryness.
Overnight treatments. For very dry or damaged nails, apply a thick layer of cuticle oil or a rich balm before bed a few nights a week. Some people wear cotton gloves overnight to lock it in, though that’s optional — the oil alone does most of the work.
What about “nail hardeners”? These can help temporarily, but many contain formaldehyde or similar ingredients that make nails harder yet more brittle with overuse. If your nails are soft and bendy, a hardener used sparingly (once a week, not as a daily coat) can help. If your nails are already brittle and breaking, hardeners often make things worse — moisture is the fix, not hardness.
Hydration from within. Drinking enough water and eating enough protein, biotin-rich foods (eggs, nuts, salmon), and iron support nail growth over time. Supplements like biotin get a lot of hype; the evidence is mixed, and high doses can interfere with certain lab tests, so talk to a doctor before starting any supplement for your nails.
Common Mistakes Beginners Make (and How to Fix Them)
1. Cutting cuticles. As covered above, this breaks the nail’s protective seal. Switch to pushing back after soaking.
2. Filing back and forth. The sawing motion frays nail layers. One direction, edge to center, always.
3. Peeling off polish or gel. This is one of the most damaging things you can do — peeling lifts layers of the nail plate with it, leaving nails thin and weak for months. Always soak off gel properly and remove regular polish with remover, never by picking. why gel nails lift at the cuticle
4. Using nails as tools. Opening cans, scraping stickers, prying things open — every one of these stresses the nail and causes breaks at the weakest point. Keep your tools (and a coin, and scissors) handy instead.
5. Skipping base coat. Polish pigments — especially dark reds and blues — stain the nail plate yellow without a base coat. A base coat also gives color something to grip, so it chips less.
6. Applying thick coats of polish. Thick coats look streaky, take forever to dry, and chip faster. Two thin coats always beat one thick one.
7. Ignoring the free edge. The underside of the nail tip collects debris and can harbor moisture. Gently clean under nails with a soft brush during your routine — don’t dig with sharp objects.
8. Biting nails or picking at cuticles. Beyond the obvious cosmetic issue, this introduces mouth bacteria to broken skin and damages the matrix over time. If it’s a habit, keep nails short and moisturized (dry ragged edges are tempting to pick), and consider a bitter-tasting deterrent polish.
9. Over-buffing. Buffing feels satisfying, but each pass thins the nail. Limit buffing to the fine-grit side, a few light strokes, no more than once every week or two.
10. Expecting overnight results. Because nails grow slowly, improvements take weeks to show and damage takes months to grow out. Consistency beats intensity — a gentle weekly routine outperforms an aggressive monthly overhaul every time.
Your Weekly Nail Care Routine: Putting It All Together
Here’s how to turn everything above into a sustainable weekly habit. Total time: about 20 minutes once you’re practiced.
Once a week (pick a consistent day):
1. Remove old polish if wearing any
2. Trim nails if needed (don’t trim weekly if length is fine — just file)
3. Soak 3–5 minutes in warm water
4. Push back cuticles gently
5. File into shape (one direction, fine grit)
6. Buff lightly (fine side only, optional every other week)
7. Apply cuticle oil and hand cream
8. Polish if desired (base + 2 thin color coats + top coat)
Daily (takes under a minute):
– Apply cuticle oil once or twice (keep it visible so you remember)
– Reapply hand cream after washing hands
– Wear gloves for dishes and cleaning
Monthly:
– Assess your tools: is the file still effective? Are clippers sharp?
– Check nail health: any persistent discoloration, lifting, or pain deserves professional attention
– Replace emery boards that have gone smooth; wash glass files
Seasonally:
– Winter is brutal on nails — indoor heating and cold air are extremely drying. Increase oiling to twice daily and consider an overnight treatment weekly during cold months.
– Summer’s humidity is kinder to nails, but sunscreen, chlorine, and sand can still dry them out. Rinse after swimming and moisturize as usual.
The beauty of this routine is that it’s modular. Short on time? Just do the daily oiling and a quick file — that alone prevents most breakage. Have a free Sunday? Do the full manicure. Consistency with the small habits matters more than perfection with the big ones.
Frequently Asked Questions
How long does it take to see healthier nails?
Because fingernails grow about 3mm per month, expect 4 to 8 weeks before you notice meaningful improvement in strength and appearance, and 4 to 6 months for fully renewed nails. Cuticle condition often improves within 1 to 2 weeks of daily oiling, which is a nice early win.
Should I cut my cuticles or just push them back?
Push them back. Dermatologists widely advise against cutting cuticles because they seal out bacteria and moisture. Pushing back after soaking achieves the tidy look without the infection risk. Trim only hangnails — torn skin flaps — with clean nippers.
Why do my nails keep peeling in layers?
Peeling (onychoschizia) usually comes from a combination of dryness and mechanical stress: back-and-forth filing, peeling off polish, using nails as tools, or repeated wetting and drying. The fix is moisture (daily cuticle oil), gentle one-direction filing, and protecting nails from harsh chemicals. We have a full guide on the causes and fixes for peeling nails. why nails peel in layers
Is it bad to wear nail polish all the time?
Not inherently, but nails benefit from occasional breaks. Continuous polish — especially with frequent removal — can dry out the nail plate. Many nail technicians suggest a 1-week break every month or two, during which you focus on oiling and moisturizing. If you notice yellowing, that’s usually staining from dark polish without a base coat, not damage.
What’s the best nail shape for beginners?
Squoval (square with softened corners) or round. Both are strong, easy to file, and forgiving of small mistakes. Avoid sharp squares and stilettos until your nails are consistently healthy and you’re comfortable filing.
Can I do a manicure if my nails are very short or bitten?
Absolutely — short nails still benefit from cuticle care, filing, and moisturizing. Keep bitten nails trimmed smooth (ragged edges invite more biting), push cuticles back gently, and oil daily. As they grow, the routine in this guide applies exactly the same.
Do I need expensive products for healthy nails?
No. The most impactful “products” in nail care are a glass file (a few dollars, lasts years), cuticle oil (jojoba or almond oil works), and consistency. Expensive creams and treatments are optional; technique and habit matter far more than price tags.
When should I see a dermatologist about my nails?
See a professional if you notice: dark streaks or spots that don’t grow out, nails lifting from the bed, persistent pain or swelling around nails, thickening or crumbling, or white/yellow patches that spread. These can indicate fungal infections, trauma, or other conditions that home care can’t fix.
Key Takeaways
- Understand before you act: Nails are keratin plates grown by the living matrix underneath — gentle technique protects the growth center that determines your nail quality for months.
- Keep it simple: A glass file, cuticle pusher, cuticle oil, and hand cream cover 90% of what beginners need. Skip the harsh metal tools and aggressive products.
- Technique beats products: File in one direction, push cuticles instead of cutting them, apply thin polish coats, and never peel off gel or polish.
- Moisture is everything: Daily cuticle oil is the single highest-impact habit for preventing breakage, peeling, and hangnails.
- Build the weekly habit: A 20-minute weekly routine plus 60 seconds of daily oiling will transform your nails within two months — consistency matters more than intensity.
- Know when to get help: Persistent discoloration, lifting, pain, or thickening deserve a dermatologist’s eyes, not more home treatment.
Love this? Pin it for later!