How to Use an IPL Device Safely at Home (Step-by-Step)
An at-home IPL device is a real piece of light-based technology, not a fancy shaver — and it deserves to be treated like one. Used correctly by a suitable candidate, IPL is a well-established, safe method of long-term hair reduction. Used carelessly, it can cause burns, blistering, and pigmentation changes that take months to fade.
This step-by-step guide walks you through the entire safe process: confirming you’re a good candidate, prepping your skin, patch testing, choosing the right intensity, the actual treatment technique, and aftercare. Follow every step — especially the first two — and you’ll get the results IPL is capable of without the injuries it’s capable of causing.
Important: This article is for informational purposes only and is not medical advice — consult a dermatologist before starting IPL if you have any skin condition, take regular medication, are pregnant, or are unsure whether your skin tone is suitable. For the full picture on who IPL is and isn’t for, read the complete beginner’s guide to at-home IPL and who should not use IPL hair removal.
Key Takeaways
- Confirm suitability first: IPL is not for very dark skin tones, not during pregnancy, not with photosensitizing medications, and not over tattoos, moles, or broken skin
- Patch-test 24–48 hours before your first full session — this single step prevents most injuries
- Shave (don’t wax) 24 hours before each session; clean, dry, product-free skin treats best
- Start at the lowest intensity, work up gradually, and never flash the same spot twice in one pass
- Aftercare = sun protection, no heat or harsh products for 48 hours, and simple moisturizer
Step 1: Confirm You’re a Suitable Candidate
Before the device even comes out of the box, run through this checklist honestly:
- Skin tone: IPL is designed for light to medium skin tones. It is not safe for very dark skin tones — the device can’t distinguish skin pigment from hair pigment, and the burn risk is real. If your device has a skin tone sensor that refuses to flash, respect it; don’t try to override it.
- Hair color: Dark brown or black hair responds best. Very light blonde, white, gray, or red hair has too little melanin to absorb the light effectively.
- Pregnancy/breastfeeding: Safety hasn’t been established — dermatologists advise waiting.
- Medications: Certain antibiotics, retinoids (including tretinoin), St. John’s Wort, and other drugs increase light sensitivity. Check with your doctor or pharmacist about anything you take, including topicals.
- Skin conditions: Don’t treat over eczema, psoriasis, active acne breakouts, cold sores, rashes, open wounds, or sunburned skin.
- Tattoos, permanent makeup, moles, dark birthmarks: The pigment absorbs light and can burn. Plan to avoid or cover these areas.
- Recent tanning: Wait until fake tan has fully faded and natural tans have faded significantly before treating.
If anything on this list gives you pause, consult a dermatologist before proceeding. This is general information, not medical advice, and a professional assessment is the safe move.
Step 2: Patch-Test (Non-Negotiable)
Every manufacturer and dermatologist says the same thing: patch-test first. Here’s how:
- Choose a small, discreet area — the inside of your thigh or a patch on your lower leg works well.
- Shave and clean the patch as you would for a real session.
- Flash the patch at the intensity you plan to start with (begin low).
- Wait 24–48 hours and observe.
What you’re looking for: Mild, brief redness that fades within a few hours is normal. Stop if you see blistering, white patches, dark patches, prolonged redness, swelling, or significant pain — and talk to a dermatologist before going further. A failed patch test is the device telling you something important. Listen to it.
Step 3: Prep Your Skin (24 Hours Before)
Proper prep takes a day, not five minutes. Here’s the timeline:
The day before your session
- Shave the treatment area. Shaving leaves the hair root intact under the skin (which the light needs to target) while removing surface hair that would absorb energy and heat the skin. Use a clean razor and shaving cream to avoid nicks.
- Do NOT wax, pluck, epilate, or use depilatory creams in the week before. Removing the root removes the IPL’s target.
- Skip tanning — no sunbathing, tanning beds, or self-tanner on treatment areas.
Right before your session
- Clean skin thoroughly. Wash the treatment area to remove deodorant, lotion, perfume, sunscreen, makeup, and self-tanner residue. Product on the skin can interfere with the light and cause irritation.
- Dry completely. The skin should be fully dry — don’t treat damp skin.
- Check the area for any new cuts, rashes, breakouts, or irritation. Skip anything that isn’t healthy, intact skin.
- Cover dark moles with a white eyeliner pencil or a small plaster so the light doesn’t target their pigment.
Step 4: Set Up and Choose Your Intensity
- Read your device’s manual. Different devices have different modes, windows, and safety features. The 10 minutes this takes is worth it. If you haven’t bought a device yet, the complete beginner’s guide to at-home IPL covers what to look for when choosing one.
- Start at the lowest intensity setting. Always. Even if you’ve used IPL before with a different device, start low on a new one.
- Use the right attachment for the area — facial attachments for the face, precision heads for bikini line and underarms, larger windows for legs.
- Wear protective eyewear if your device includes it, and as a rule never flash toward or near the eyes. Don’t treat eyebrows.
- Test one flash on the treatment area at your starting intensity. It should feel like mild warmth or a light snap. If it’s genuinely painful, the setting is too high — turn it down.
Working your way up
Over the first few sessions, you can gradually increase intensity as long as your skin tolerates it comfortably. Higher intensity generally means better results — but only up to the point your skin handles well. Comfort plus mild warmth is the target; pain is the signal to stop increasing.
Step 5: The Treatment Technique
This is the core skill. Good technique is the difference between even, effective treatment and patchy results with irritated skin.
The stamp method (most common)
Most at-home devices use a “stamp” technique:
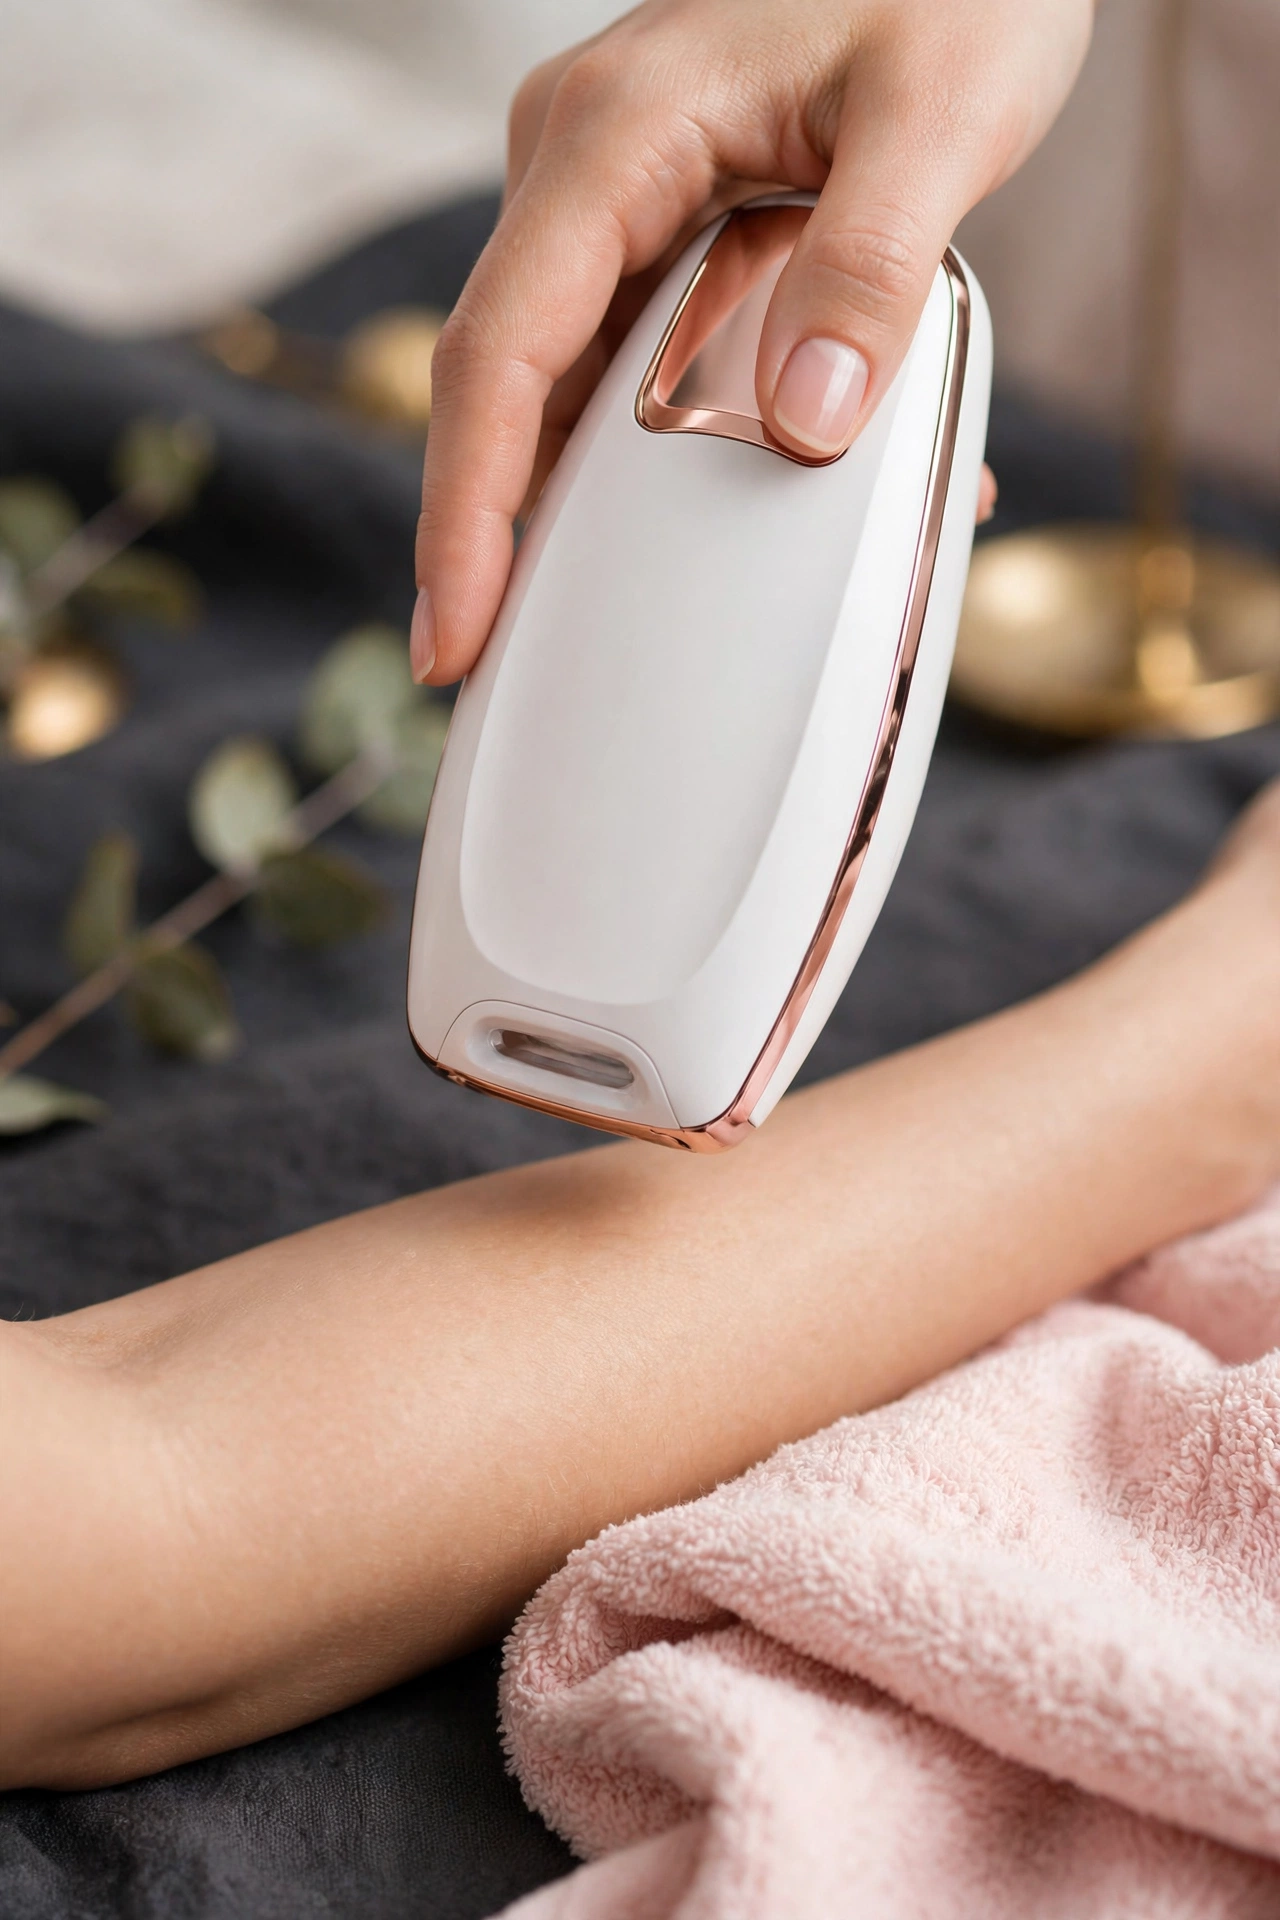
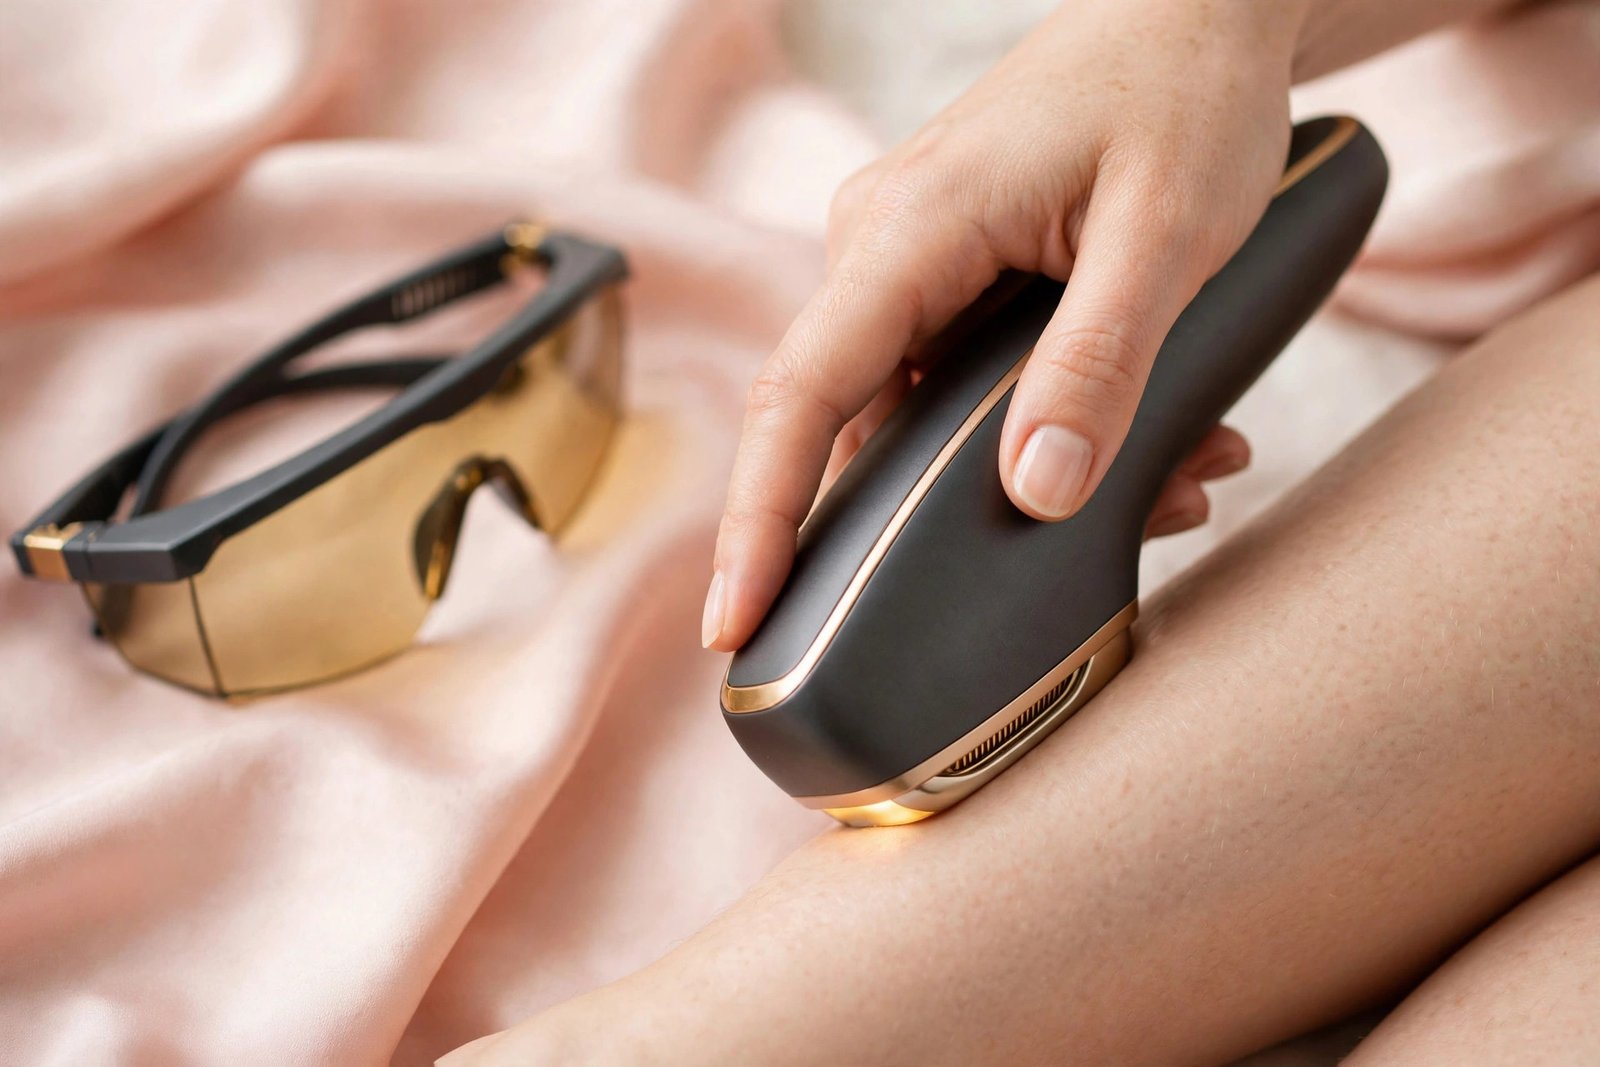
- Place the window flat against the skin. Full contact matters — the light needs a seal. Angled or lifted placement lets light escape and reduces effectiveness.
- Press the flash button. One pulse.
- Lift and move to the next spot, overlapping slightly (about 10%) with the previous flash so you don’t miss strips of skin.
- Don’t double-flash the same spot in one session. One pass per area.
The glide method (if your device supports it)
Some devices offer a glide or continuous mode for large areas like legs: hold the button and slide steadily. Keep your speed consistent — lingering in one spot over-treats it. If your device doesn’t explicitly offer this mode, stick with stamping.
Order and coverage
- Work in sections (e.g., one lower leg at a time) so you can track where you’ve been.
- Good lighting helps you see the slight redness marking treated areas.
- Take your time — rushing causes missed patches and overlapping flashes. A full-legs session takes 10–20 minutes; that’s normal.
What normal feels like vs. warning signs
- Normal: mild warmth, a light snapping sensation, faint pinkness that fades within hours.
- Warning signs — stop the session: sharp or burning pain, blistering, white spots, sudden darkening, swelling, or pain that lingers. Cool the area, and don’t resume until you’ve assessed what happened (and talked to a dermatologist if there’s any burn or pigmentation change).
Step 6: Aftercare (The 48 Hours After)
What you do after the session protects your results and your skin:
- Cool the skin if it feels warm — a cool, damp cloth is enough. Mild redness for a few hours is normal.
- Avoid sun exposure on treated areas for at least 48 hours, and use sunscreen on treated skin daily going forward. Freshly treated skin is more vulnerable to UV-induced pigmentation changes.
- Skip heat for 24–48 hours: no hot baths, saunas, steam rooms, or intense workouts that overheat the treated areas.
- Skip harsh products for 24–48 hours: no retinoids, AHAs/BHAs, scrubs, or strong exfoliants on treated skin.
- Moisturize with a simple, fragrance-free moisturizer.
- Don’t wax or pluck between sessions — shave only, so follicles stay intact for the next treatment.
Your Session Schedule (Quick Reference)
Consistency is what makes IPL work — the follicle needs repeated hits across hair growth cycles:
- Weeks 1–4: once per week
- Weeks 5–8: every two weeks
- Weeks 8–12: every two to four weeks as regrowth slows
- After week 12: maintenance every 4–8 weeks
Set phone reminders. The most common reason IPL “doesn’t work” is simply missed sessions, not a faulty device. For realistic expectations of what each phase looks like, see the realistic IPL results timeline. And if waxing is your current method and you’re comparing options, how to wax at home for beginners covers the alternative.
Troubleshooting Common Issues
“It’s not working after a month”
Four sessions is early — most people see the first real difference around sessions 4–6. Check the basics: are you shaving (not waxing) before sessions? Is your hair dark enough? Is the intensity high enough to feel warmth? Are sessions consistent? If all of that is right, give it the full 8–12 weeks before judging.
Missed patches of hair
Usually a technique issue — the window wasn’t flat, or you moved too fast and left gaps. Slow down, use good lighting, and overlap flashes slightly. Missed strips are the most common beginner complaint and the easiest to fix.
Skin feels irritated after sessions
You may be treating too frequently, at too high an intensity, or over skin that wasn’t fully clean and dry. Drop the intensity one level, confirm your prep routine, and make sure you’re not double-flashing spots. Persistent irritation deserves a dermatologist’s opinion.
Redness lasting more than a day
Mild redness for a few hours is normal; redness beyond 24–48 hours, swelling, or blistering is not. Cool the area, don’t treat it again until fully healed, and consult a dermatologist if it doesn’t resolve.
Frequently Asked Questions
Should I shave or wax before IPL?
Shave. Always shave, never wax, pluck, or epilate before IPL. The light targets the melanin in the hair shaft and root — waxing removes the very thing the device needs to work on. Shave 24 hours before your session.
Can I use IPL on my bikini line and underarms?
Yes — these are among the most popular treatment areas, and many devices include precision attachments for them. Use a lower intensity than you would on legs; the skin is thinner and more sensitive. Never use IPL on genitals or around the anus, and check your device manual for its specific guidance.
What happens if I miss a session?
One missed session won’t ruin your progress — just resume the schedule where you left off. Don’t double up sessions to “catch up”; more frequent flashing irritates skin without improving results.
Can I use IPL over stretch marks or scars?
Light-colored, fully healed scars and stretch marks are generally fine to treat over, since there’s little pigment for the device to target. Dark, raised, or recent scars — skip them. When in doubt, avoid the area or ask a dermatologist.
Is it safe to use IPL in summer?
You can, but tanned skin is the enemy of safe IPL. If you tan easily, many users pause during peak summer and resume in fall when skin is at its natural tone — tanning is one of several situations where IPL isn’t appropriate, covered in who should not use IPL hair removal. If you treat in summer, be strict about sunscreen and avoid treating any tanned areas.
Conclusion
Safe at-home IPL use comes down to a simple sequence: confirm you’re a suitable candidate, patch-test, prep properly (shave, clean, dry), start at low intensity, use clean stamping technique without overlapping, and protect the skin afterward. None of these steps are difficult — they just all need to actually happen, every session.
The two steps beginners skip most are the patch test and the suitability check, and they’re the two that prevent nearly all injuries. Do them, stay consistent with your schedule, and IPL can deliver the long-term hair reduction it’s known for.
For the bigger picture — how IPL works, realistic timelines, and choosing a device — start with the complete beginner’s guide to at-home IPL hair removal.
This guide is for informational purposes only and is not medical advice. Consult a dermatologist before starting IPL, especially if you have a skin condition, take medication, or are unsure about your suitability.
Love this? Pin it for later!