How to Fix Bumpy Dip Powder Nails at Home: Step-by-Step Rescue Guide
Direct answer: Fix bumpy dip powder nails by filing the lumps smooth with a 100/180 grit file, brushing off all dust, then sealing with activator and two thin top-coat layers — no need to soak off and restart. For deep pits, dab a tiny amount of base liquid into the low spot, re-dip once, and re-file. The whole rescue takes about 15 minutes.
Bumpy dip nails are the most common DIY dip complaint, and I say that as someone who produced truly lunar-surface nails on my first three attempts. The good news: bumps are fixable without starting over. Here’s the rescue routine I now use whenever a nail comes out lumpy — plus how to prevent it next time.
If your dip manicure also lifts at the edges, check related guide — the prep principles are the same. More fixes in Nails.
Why dip powder goes bumpy
Three culprits cause 95% of bumps:
- Too much base liquid. A thick, gloopy base coat grabs excess powder in clumps. This is the #1 cause.
- Slow or uneven dipping. Hesitating mid-dip, or dipping at an angle, deposits powder unevenly.
- Skipping the dust-off. Powder residue left between layers gets sealed in as gritty texture.
Knowing which one got you helps, but the rescue works regardless.
What you’ll need
- 100/180 grit nail file
- Soft dust brush or clean makeup brush
- Your dip liquids (base, activator, top coat)
- Lint-free wipes
The step-by-step rescue
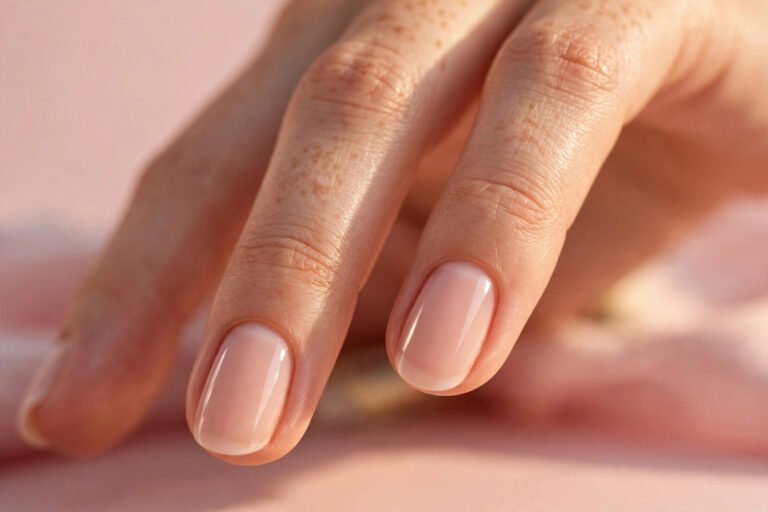
Step 1 — Assess the damage. Look at each nail in good light. Mark the worst offenders — you’ll work nail by nail. If a nail is bumpy and lifting at the cuticle, it’s faster to redo that one nail than rescue it.
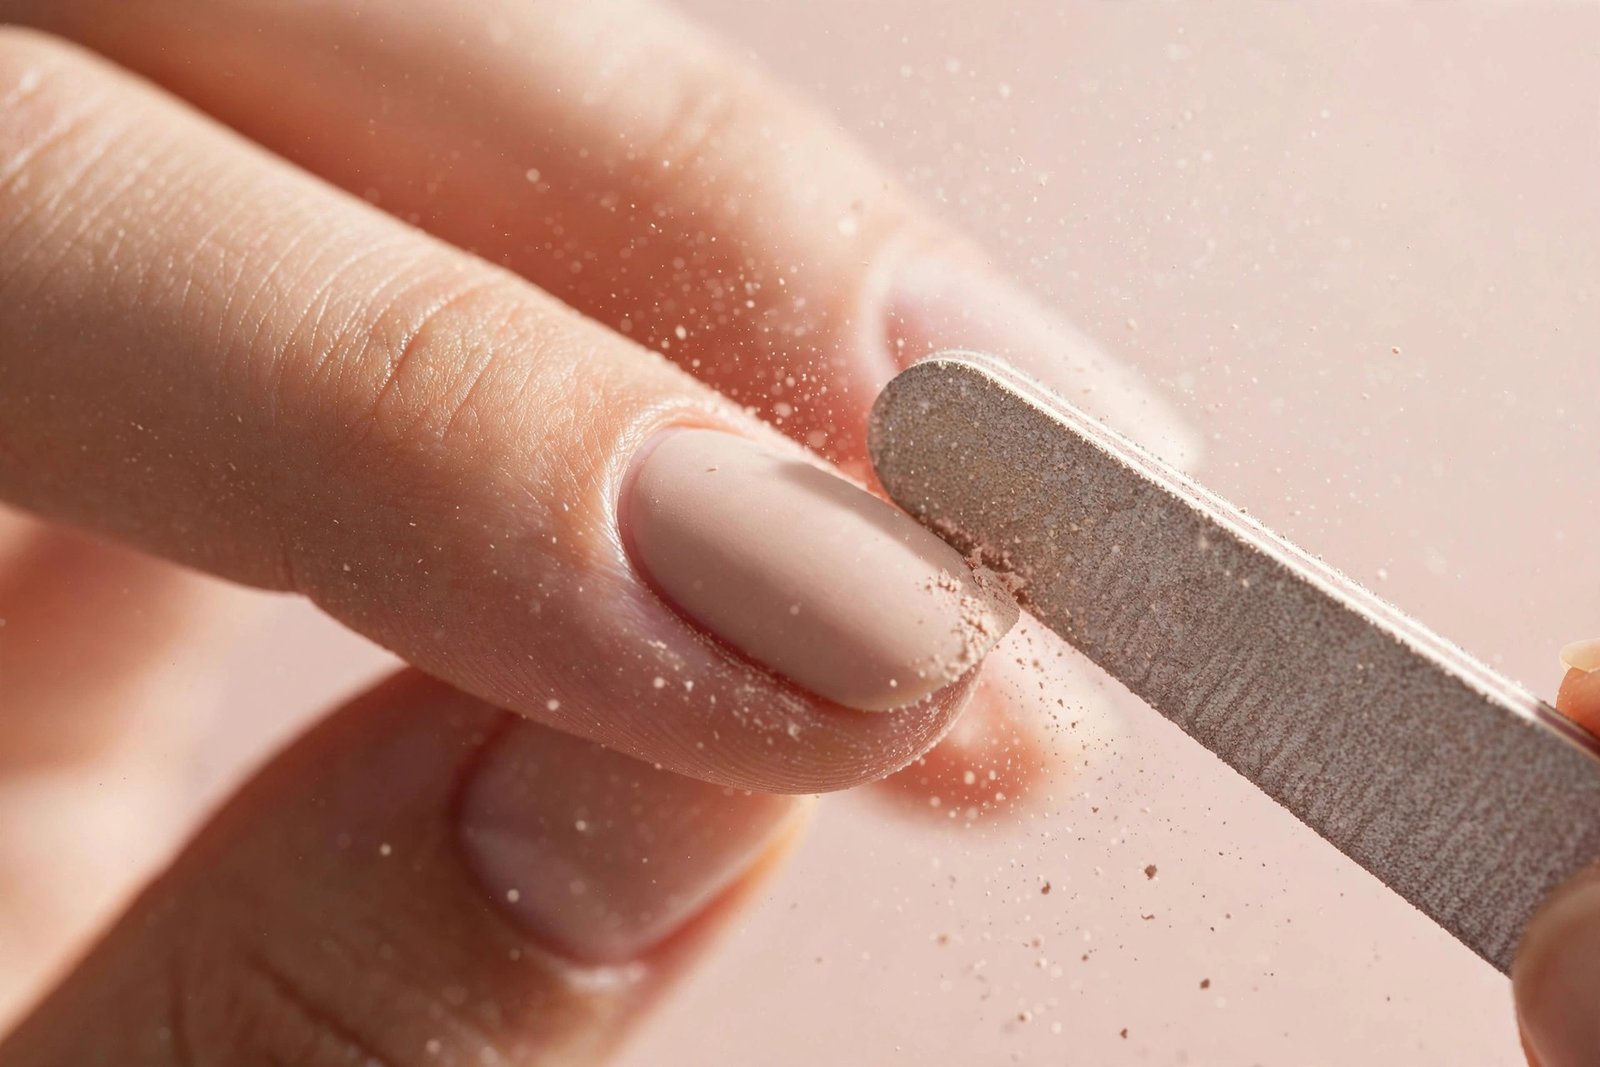
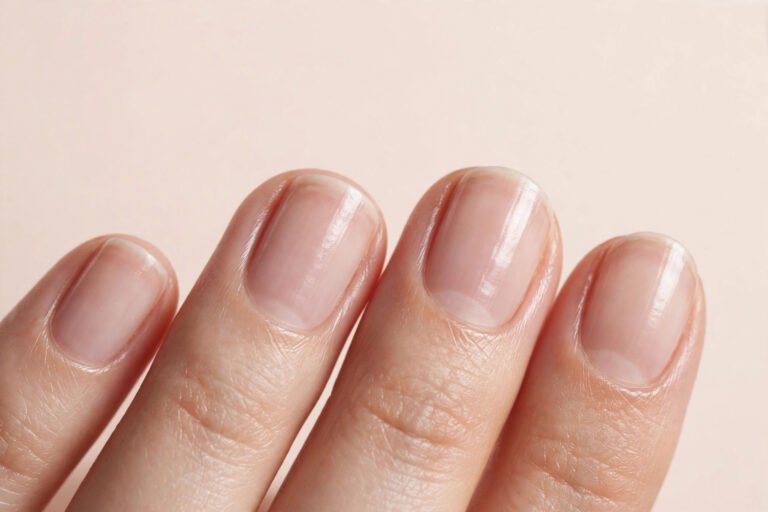
Step 2 — File the bumps down. Using the 100-grit side, gently file the raised areas with light, even strokes — always in one direction, never saw. You’re leveling the surface, not removing the dip. Stop frequently and check: run your fingertip lightly across the nail (a tissue works too — it catches on bumps your eyes miss). The goal is uniformly smooth, not thin.
Step 3 — Dust thoroughly. Brush every speck of filing dust off the nail and from under the free edge. Then wipe with a dry lint-free wipe. Dust left behind becomes tomorrow’s new bumps — this step matters more than people think.
Step 4 — Fill any pits. If filing revealed low spots or pits, dab the tiniest amount of base liquid just into the pit with the very tip of the brush, dip once into clear powder, tap off excess, and let it set for 30 seconds. Less is more here — you’re spackling, not rebuilding.
Step 5 — Re-file the patched spots. Once set, lightly smooth the patched areas with the 180-grit side until level with the rest of the nail. Dust again.
Step 6 — Reactivate. Brush activator over the whole nail and wait the full recommended time (usually 2 minutes). This hardens everything you’ve just leveled. Don’t rush it — soft activator under top coat causes cloudiness.
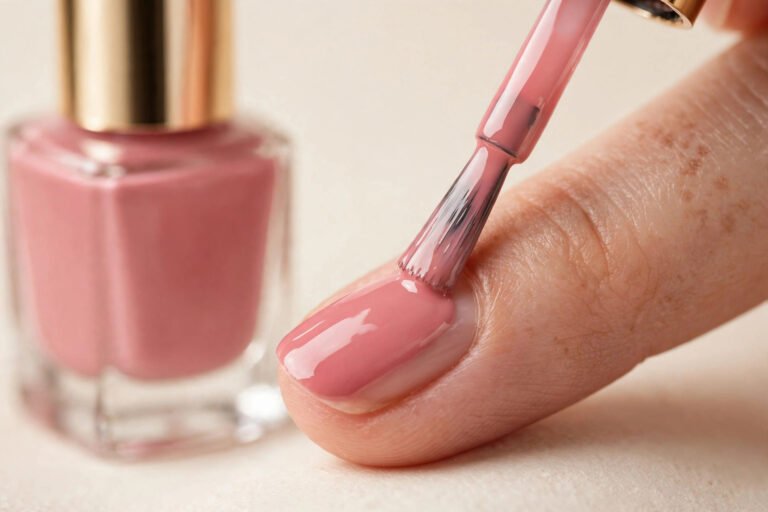
Step 7 — Top coat, twice, thin. Apply one thin layer of top coat, wait 2 minutes, then a second thin layer. Two thin layers self-level far better than one thick one and give that smooth, glassy dip finish.
Step 8 — Final check. Inspect in natural light from multiple angles. Any remaining texture? One more light buff + top coat fixes it. Then cuticle oil around (not on) the nails.
When to rescue vs. restart
Rescue it: surface bumps, minor unevenness, a pit or two, slight texture. The 15-minute routine above handles all of these.
Restart the nail: lifting at the cuticle or sidewalls, large air pockets under the dip, cracking through to the natural nail, or more than half the nail visibly uneven. Soak off just that nail (foil + acetone, 10–15 minutes) and redo it — fighting a failing foundation wastes more time than a fresh start.
Preventing bumps next time
My bump-free dip routine, learned the hard way:
- Thin base liquid. Wipe the brush well — it should look barely wet, not dripping. Thick base = clumps, always.
- Quick, confident dips. Dip straight down at 90 degrees, one smooth motion, straight back out. No wiggling, no hesitating.
- Tap, don’t blow. After each dip, tap the finger firmly (flicking motion) to shake off excess powder. Never blow — moisture from your breath ruins dip.
- Dust between every layer. Quick brush-off after each dip layer keeps grit from building up.
- Two dips for color, not four. More layers = more chances for unevenness. Two even dips plus clear encapsulating dip is plenty.
Frequently asked questions
Can you file dip powder nails smooth?
Yes — that’s exactly what this rescue does. Use a 100/180 grit file with light pressure, file in one direction, and always re-seal with activator and top coat afterward. Unsealed filed dip looks dull and absorbs stains.
Why are my dip nails bumpy even though I followed the instructions?
Almost always too much base liquid. Kit instructions tend to understate how thin it should be. On your next set, wipe the base brush until it looks nearly dry — you’ll be amazed at the difference.
How do I fix one bumpy nail without redoing the whole set?
Follow the rescue steps on just that nail. Dip is very forgiving for single-nail fixes since you’re filing and re-sealing locally — no one will know one nail got special treatment.
Can I use a regular nail file on dip powder?
A standard 100/180 grit nail file is perfect. Avoid metal files (too aggressive) and very coarse boards meant for acrylics. An e-file works too if you’re experienced, but hand filing gives you more control for rescue work.
How long should a dip manicure last?
A well-done DIY dip lasts 2–3 weeks. If yours consistently fails sooner, the issue is usually prep (oils left on the plate) or lifting at the cuticle — both fixable with the routines in our Nails guides.
Love this? Pin it for later!