DIY Honey-Sugar Lip Scrub for Dry, Chapped Lips (2-Minute Recipe)
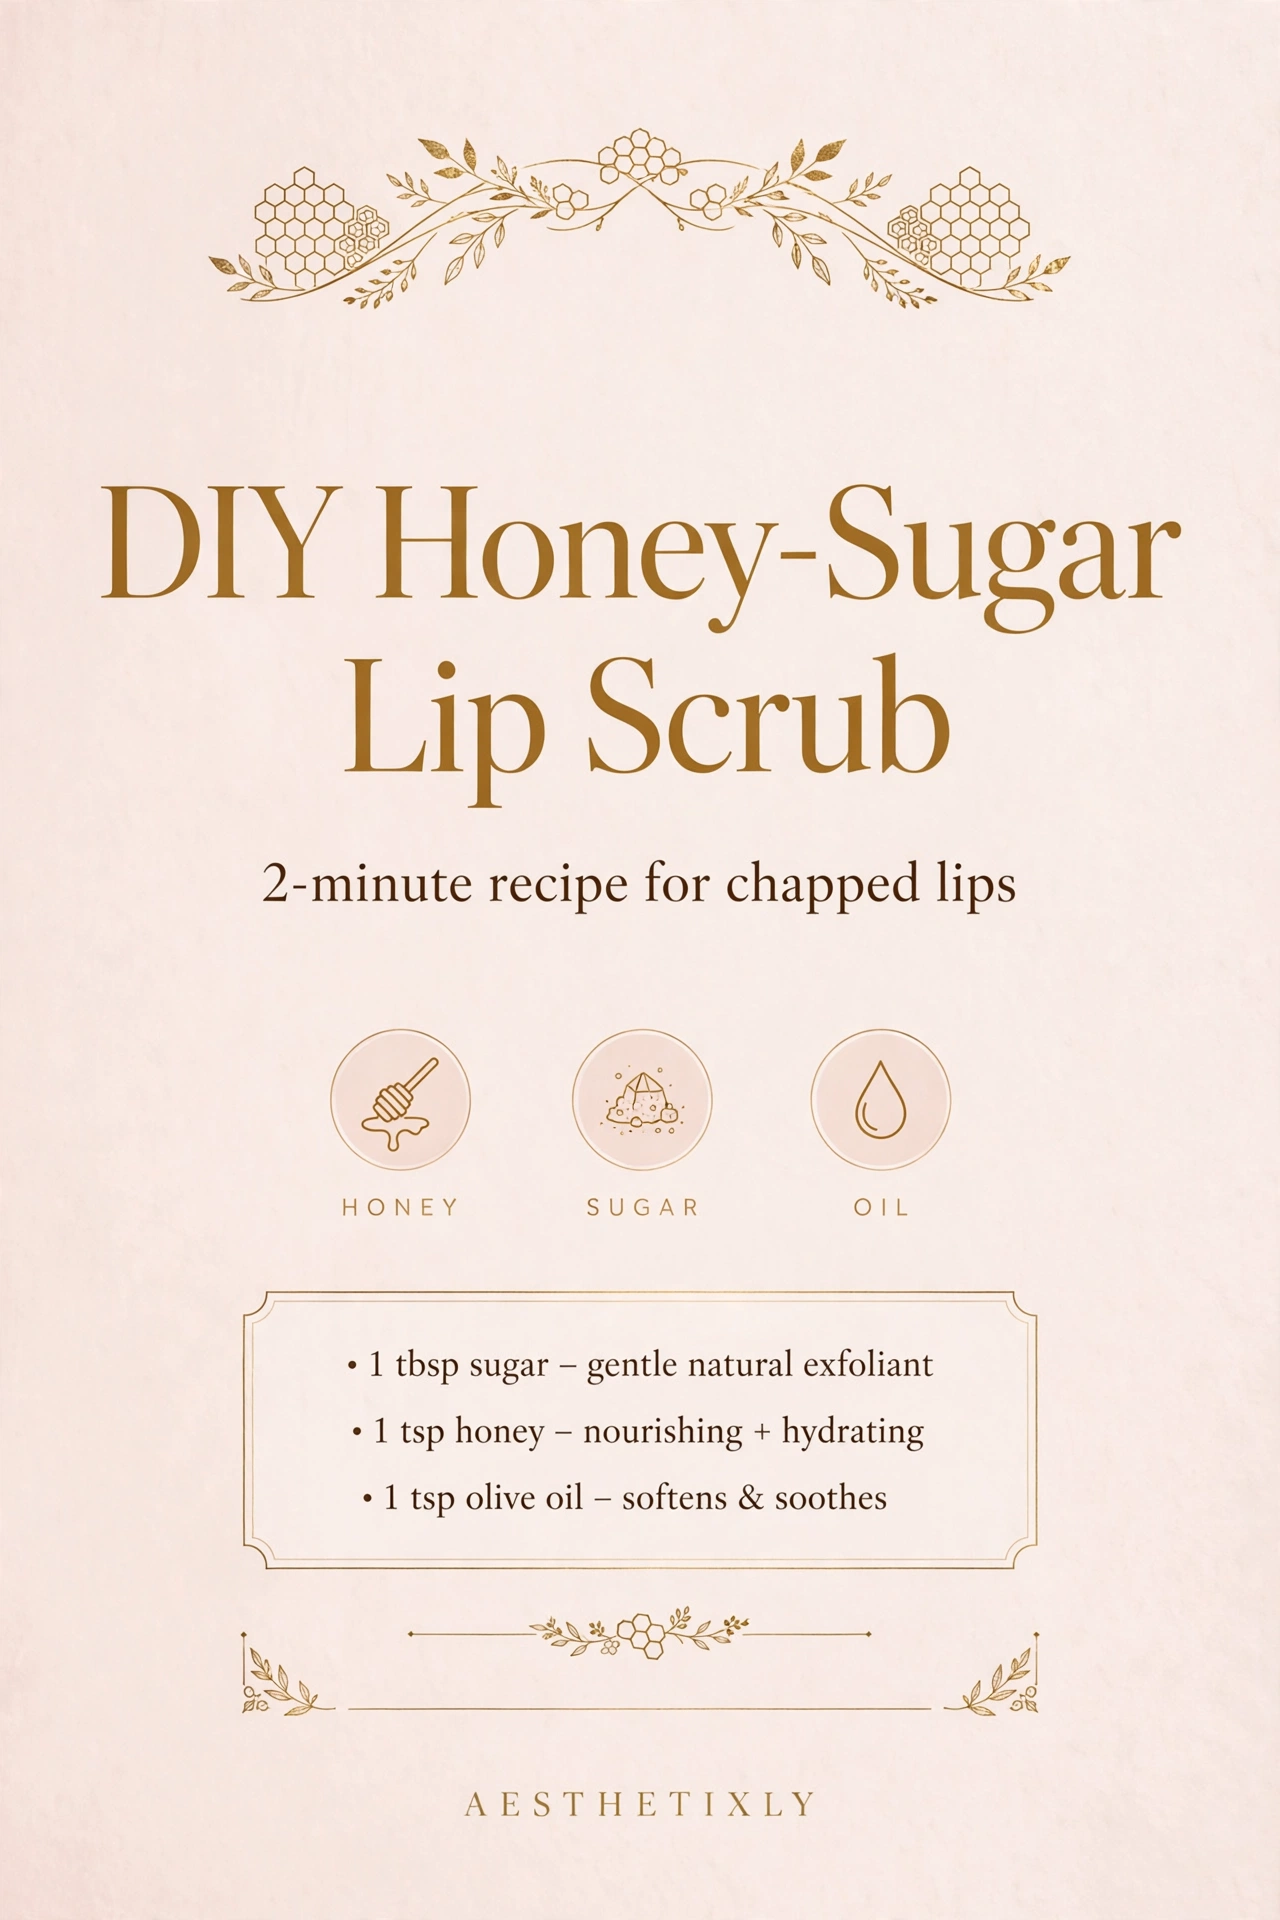
The short answer: Mix 1 tablespoon of sugar with 1 teaspoon of honey and a few drops of oil, massage gently onto your lips for 30–60 seconds, then rinse. The sugar buffs away flakes while the honey soothes and hydrates. Use it 2–3 times a week — daily scrubbing will irritate your lips instead of helping them.
There’s a special misery to chapped lips in winter — the flaking, the tightness, lipstick catching on every dry patch. Lip balm alone can’t fix it, because balm seals in moisture but can’t remove the dead skin sitting on top. That’s where a scrub comes in, and honestly, the homemade version beats most store-bought ones I’ve tried. It’s cheaper, it takes two minutes, and you know exactly what’s in it.
Why Honey + Sugar Works So Well
This isn’t just a Pinterest-folk recipe — the combination makes real sense:
- Sugar is a gentle physical exfoliant. The fine granules buff away dead, flaky skin without the harshness of salt or the micro-tear risk of rougher scrubs. Brown sugar is even gentler than white, thanks to its softer crystals.
- Honey is a natural humectant, meaning it draws moisture in, and it’s been used for centuries to soothe irritated skin. It also gives the scrub its spreadable texture so the sugar doesn’t just fall off your lips.
- Oil (coconut, jojoba, or even olive oil from your kitchen) adds slip and leaves a moisturizing layer behind, so your lips feel soft after rinsing — not stripped.
Three ingredients, each doing a real job. That’s the whole magic.
The 2-Minute Base Recipe
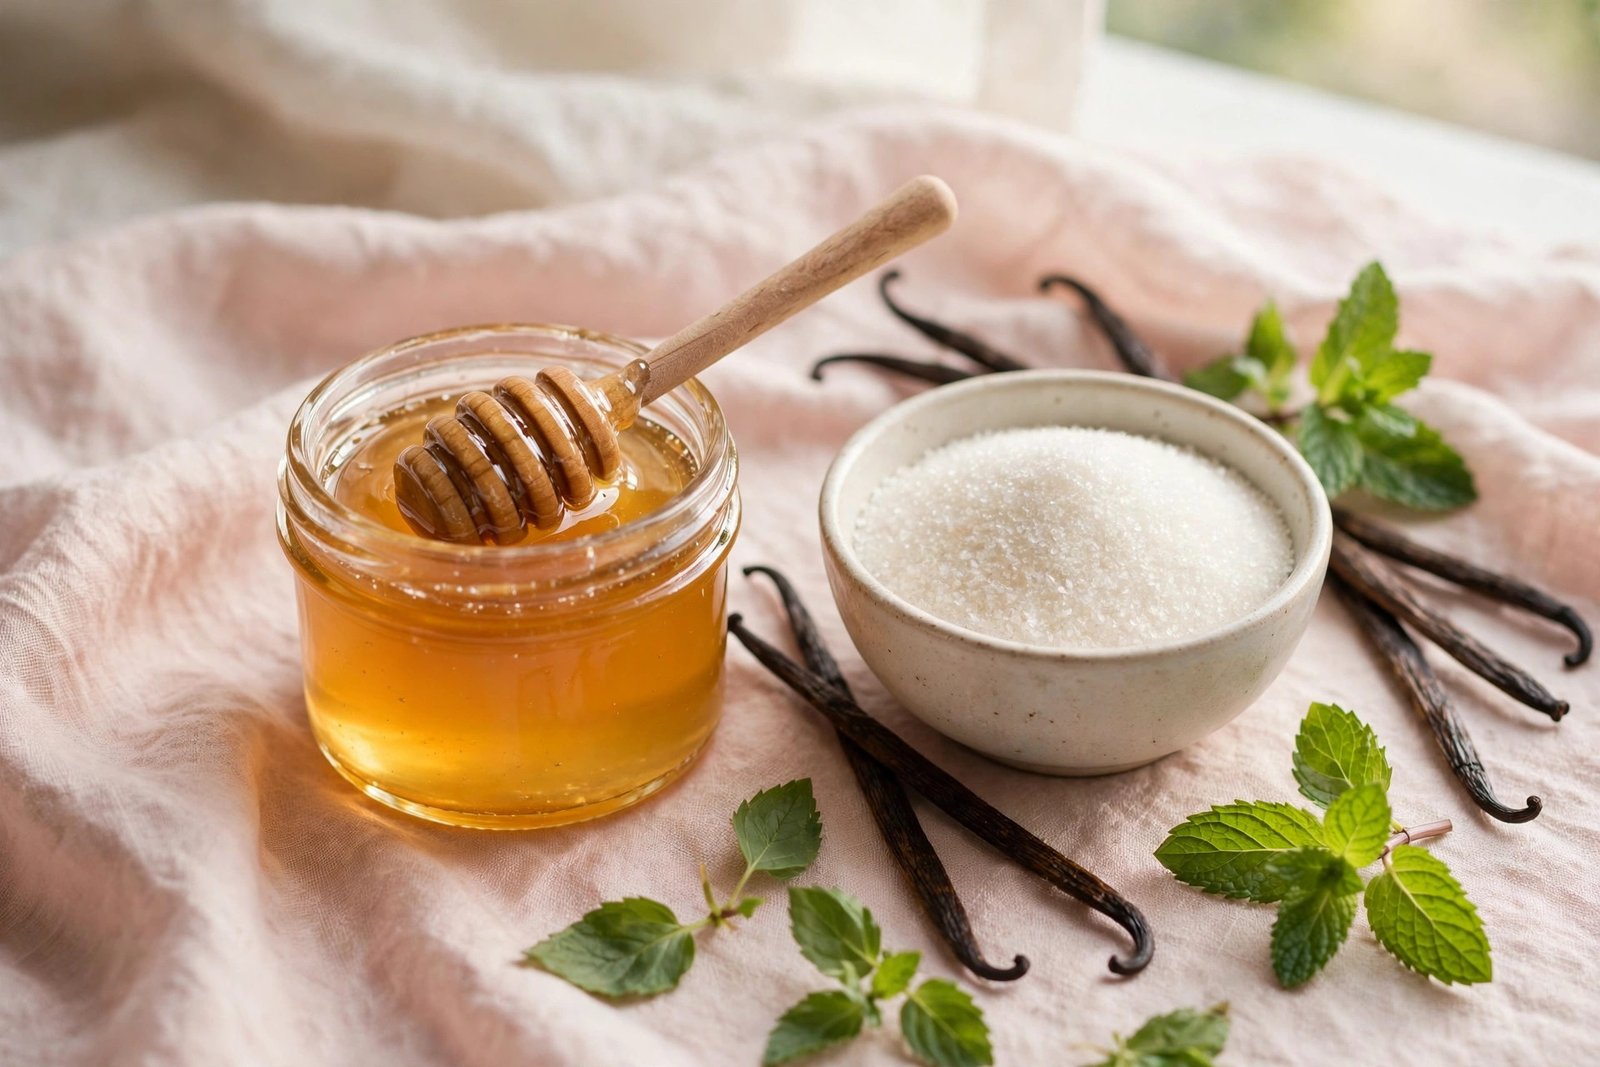
- 1 tablespoon fine sugar (white or brown)
- 1 teaspoon raw honey
- ½ teaspoon coconut oil or, melted if solid
Stir everything together in a small bowl or jar. It should look like wet sand — thick enough to stay put, loose enough to spread. That’s it. You’re done. This makes enough for about a week of use if you store it in a tiny jar with a lid at room temperature.
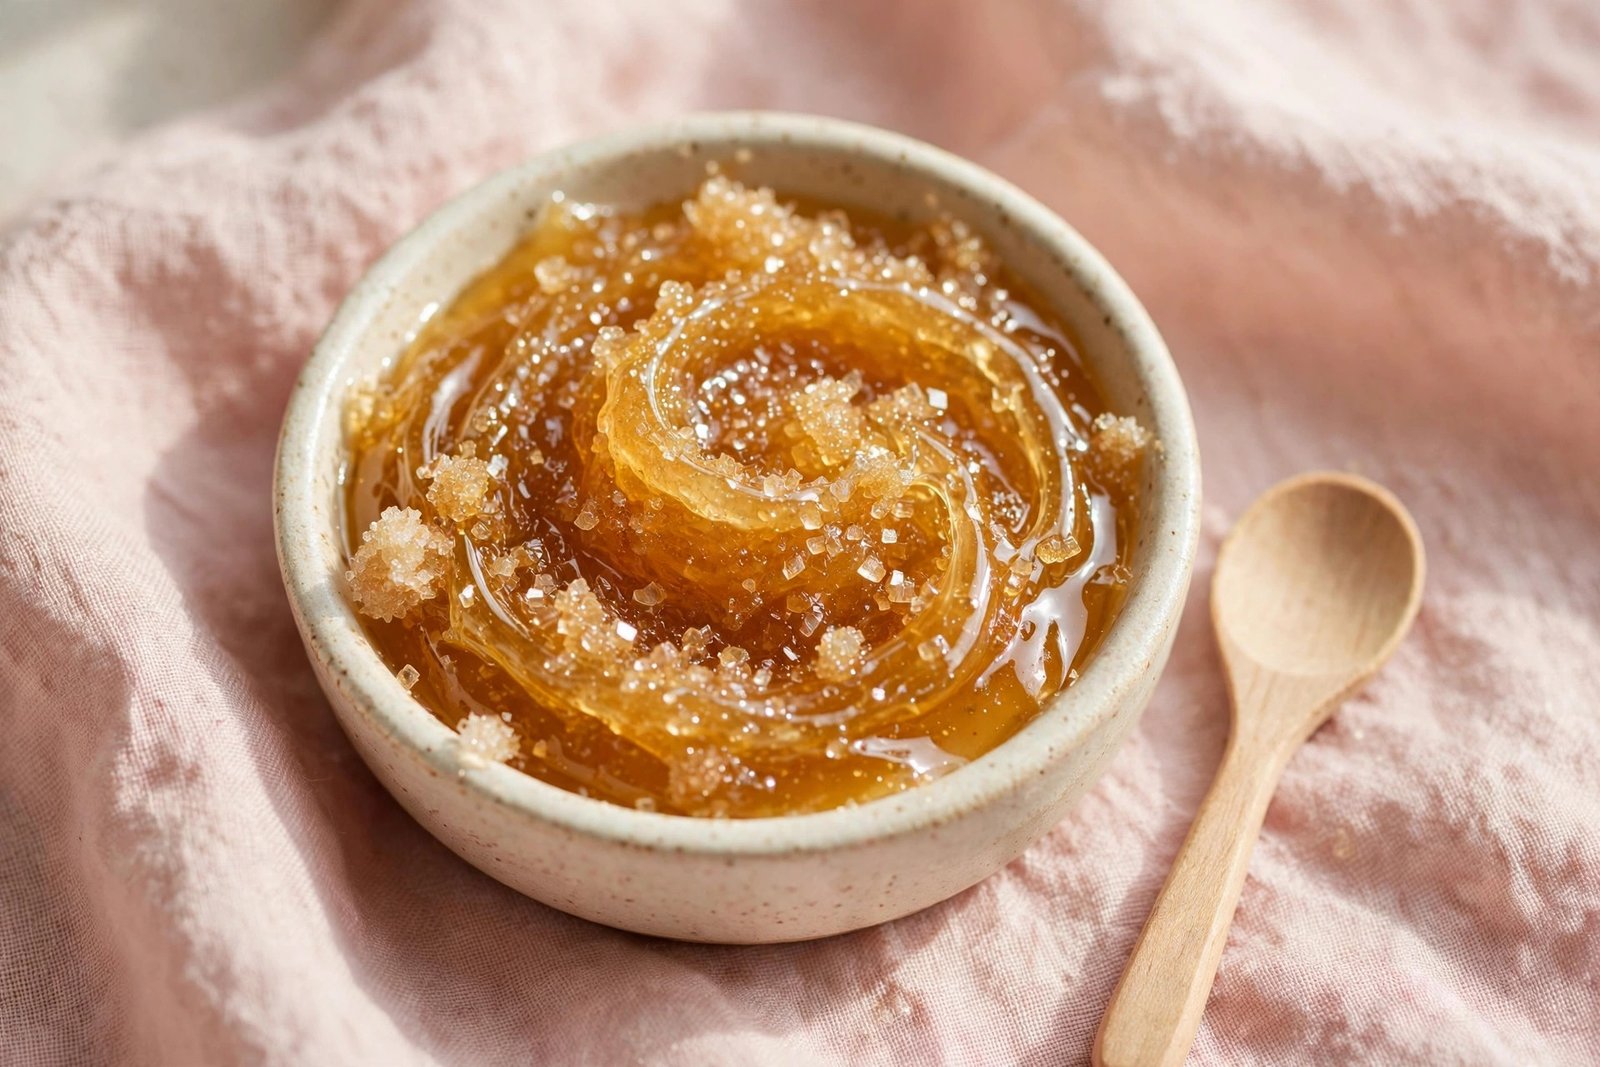
How to use it: Scoop a pea-sized amount with clean fingers, massage over your lips in gentle circles for 30–60 seconds (don’t scrub hard — let the sugar do the work), then rinse with lukewarm water or wipe off with a damp cloth. Follow immediately with lip balm or a dab of plain oil to seal in the softness.
3 Flavor Variations I Tested
The base recipe is perfect on its own, but half the fun of DIY is customizing. I tested these three variations over two weeks — here’s my honest ranking:
1. Vanilla-Honey (my favorite)
Add 2–3 drops of vanilla extract to the base recipe. It smells like a bakery and the vanilla gives it this warm, cozy feeling. This is the one I keep remaking. If you only try one variation, make it this one.
2. Peppermint Tingle
Add 1 drop of peppermint essential oil (just one — it’s strong). It gives that fresh, plumping tingle similar to expensive lip-plumping scrubs. My lips looked noticeably fuller for about an hour after. Skip this one if your lips are cracked or bleeding — the tingle will sting on broken skin.
3. Brown Sugar + Cinnamon Spice
Swap white sugar for brown sugar and add a tiny pinch of cinnamon. It smells incredible — like a fall candle — and the brown sugar is the gentlest of all the options. Fair warning: cinnamon can irritate very sensitive lips, so patch-test on the corner of your mouth first.
All three kept for a full week in a sealed jar with no issues. The peppermint version seemed to stay freshest, probably because essential oils are naturally preservative.
How Often Should You Exfoliate Your Lips?
Two to three times a week, max. Your lips have some of the thinnest skin on your body and no oil glands of their own, so they’re easy to over-exfoliate. If your lips feel raw, look redder than usual, or sting when you apply balm afterward, you’re scrubbing too often or too hard — drop back to once a week.
The routine that works best for me in dry months: scrub Sunday and Wednesday evenings, balm every night before bed. In summer, I barely need it at all — maybe once a week.
Storage and Shelf Life
Because there’s no water in the recipe (honey and oil only), this scrub keeps well — about 2–3 weeks in a sealed container at room temperature. A few rules:
- Always use clean, dry fingers or a tiny spoon to scoop — introducing water breeds bacteria.
- If it smells off or the texture changes, toss it and make a fresh batch. It takes two minutes.
- A small 1–2 oz jar is perfect; don’t make huge batches.
What I Tested: Store-Bought vs. DIY
I compared my DIY scrub against a $16 lip scrub from a popular clean-beauty brand for a week — one side of my mouth each (yes, really). Honestly? The results were identical. Both smoothed flakes in under a minute. The store version smelled fancier, but my vanilla-honey DIY tasted better and cost roughly 30 cents per batch. Some battles aren’t close.
Quick Recap
- Mix 1 tbsp sugar + 1 tsp honey + ½ tsp oil — that’s the whole recipe
- Massage gently for 30–60 seconds, rinse, then seal with balm
- 2–3 times a week maximum; less is more
- Try the vanilla-honey variation first — it’s the crowd favorite
- Store in a sealed jar, use clean fingers, remake every 2–3 weeks
One gentle note: this is cosmetic advice from my own experience, not medical advice. If your lips are severely cracked, bleeding, or not healing, check with a professional — and always patch-test new ingredients first.
Frequently Asked Questions
Can I use this lip scrub every day?
I wouldn’t. Daily exfoliation is too much for lip skin and usually backfires — lips get raw, then flake worse than before. Two to three times a week is the sweet spot.
Brown sugar or white sugar — which is better?
Both work. Brown sugar has softer crystals, so it’s gentler — better for sensitive or very chapped lips. White sugar gives a slightly deeper exfoliation. I use brown in winter and white in summer.
Can I just use honey alone on my lips?
Honey alone is lovely as a hydrating lip mask (10 minutes, then rinse), but it won’t exfoliate. The sugar is what removes the flakes — honey’s job is soothing and moisture.
My lips sting when I use the scrub. Is that normal?
A very mild tingle is fine, but stinging means something’s wrong — usually lips that are already cracked, or too much pressure. Wait until any cracks heal, then try again with a lighter hand and the plain base recipe (no peppermint, no cinnamon).
How long does homemade lip scrub last?
About 2–3 weeks in a sealed jar at room temperature, as long as you keep water out of it. It costs pennies to make, so when in doubt, make a fresh batch.
Want more kitchen-cupboard beauty? Try my related guide“>turmeric face mask guide for glowing skin, or read the truth about that related guide“>tingling Aztec clay mask. Find them all in DIY Beauty“>DIY Beauty.
Love this? Pin it for later!